Table of Contents – Please Click a Selection
Create Real Estate Product
In this section, I’ll walk you through how to create a product for a specific Realtor, so they can pay and access a link to the dropbox you specify. Simply follow the steps listed and you should have no problems.
What you will need:
- The images, named how you want them named, on your pc or already uploaded to the media library
- The name of the access right you want to set for the product
- The dropbox link you want to send the customer to after purchase
How to do it
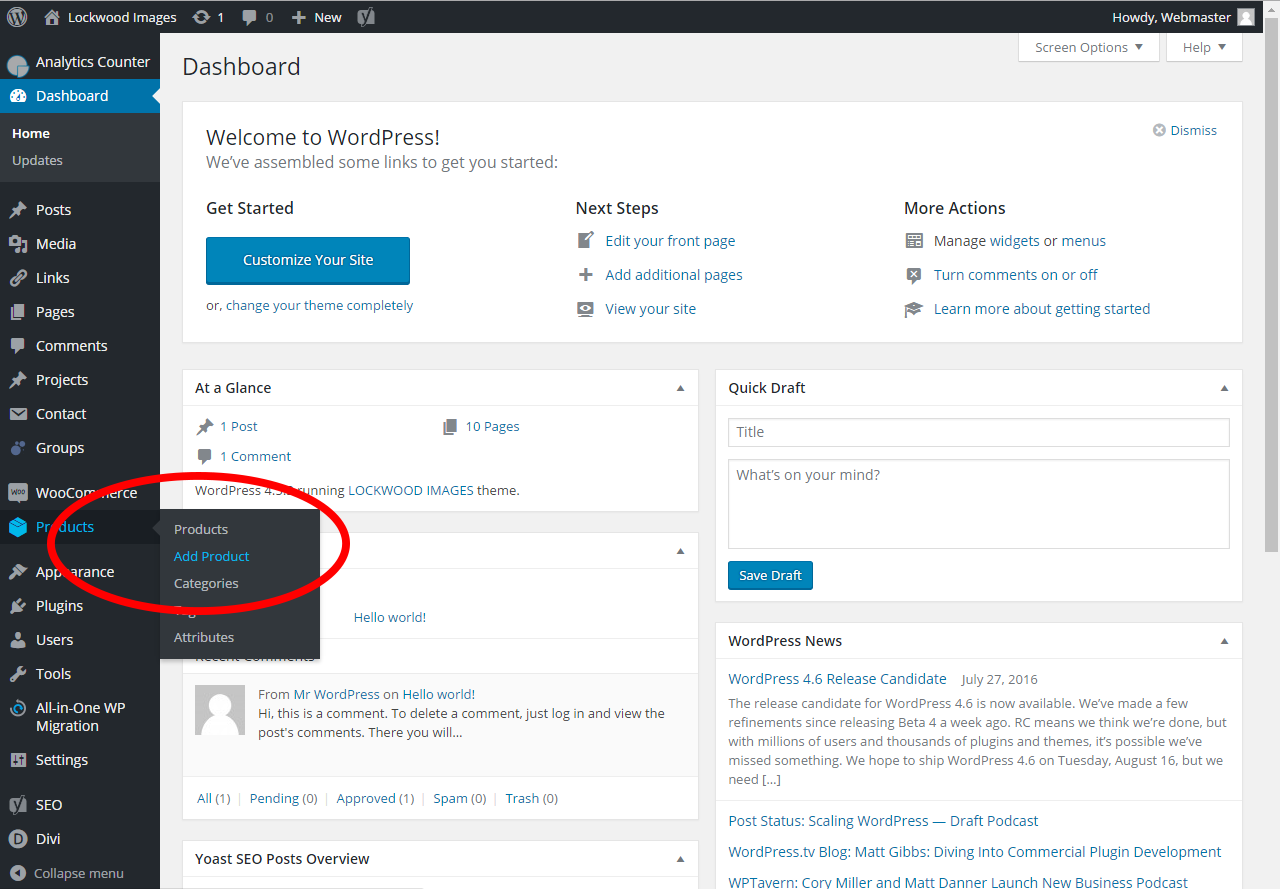
1. Login to your account and in the wordpress dashboard on the left side, hover the mouse over Products, and select “Add Product”
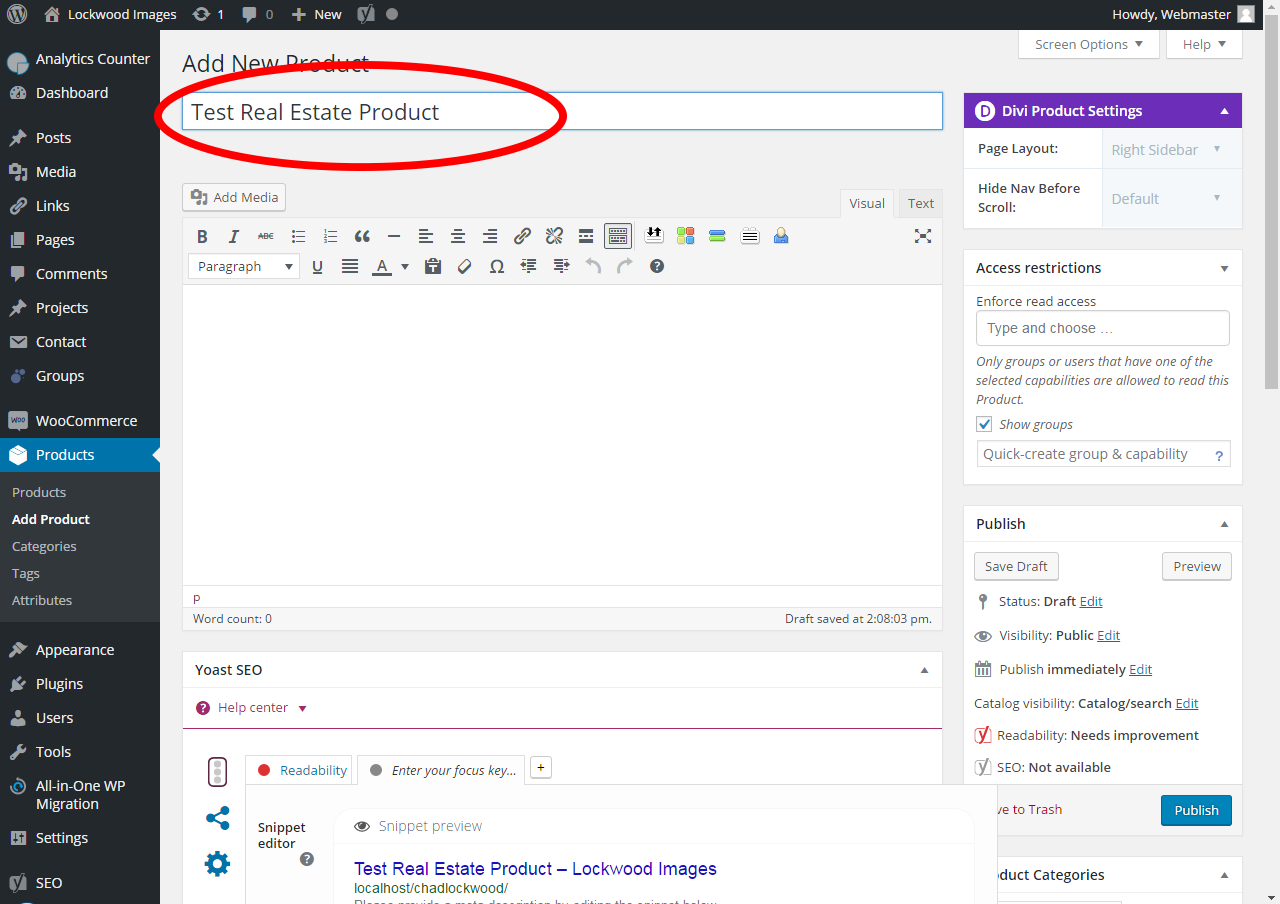
2. Name the product
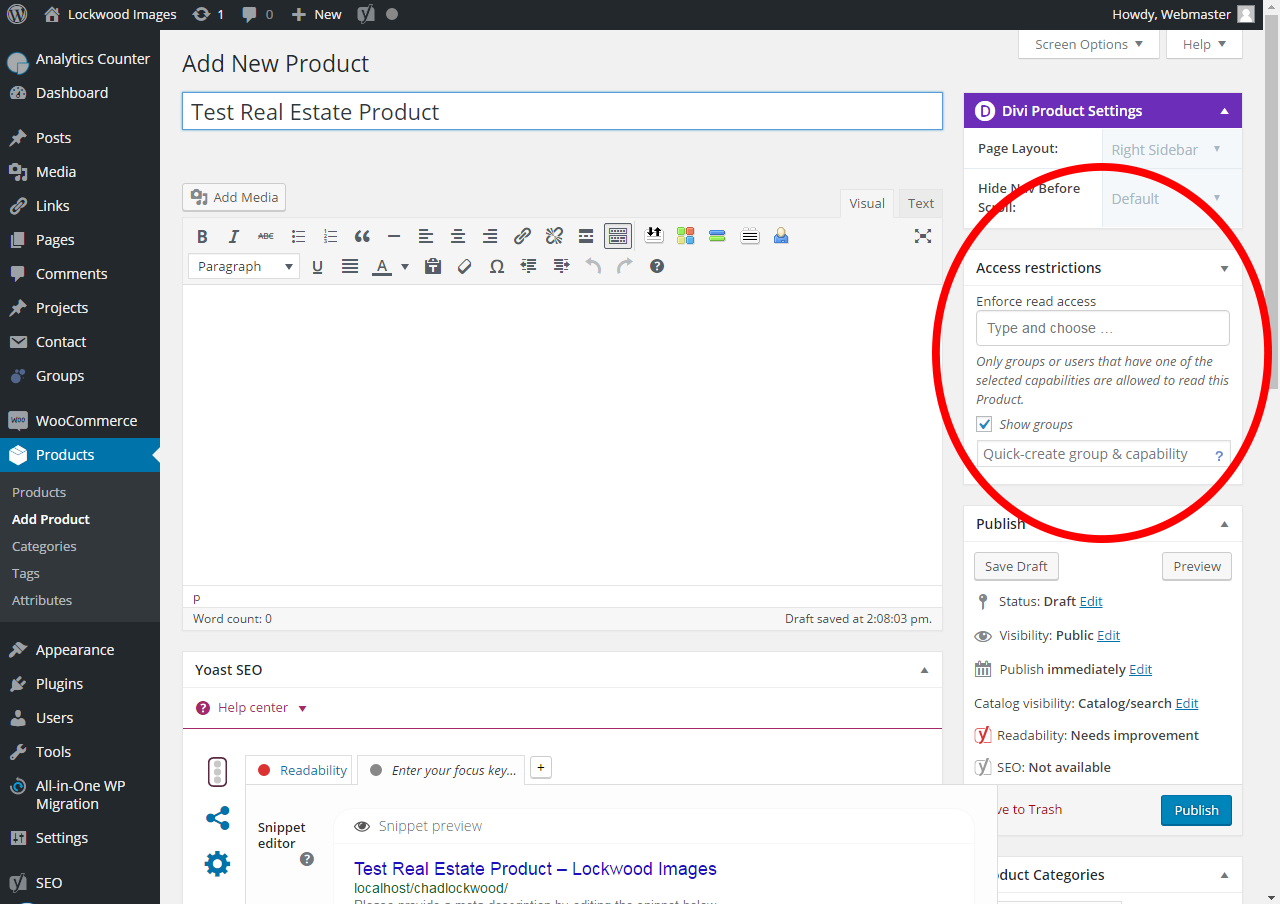
3. On the right side of the page, find the section “Access Restrictions”.
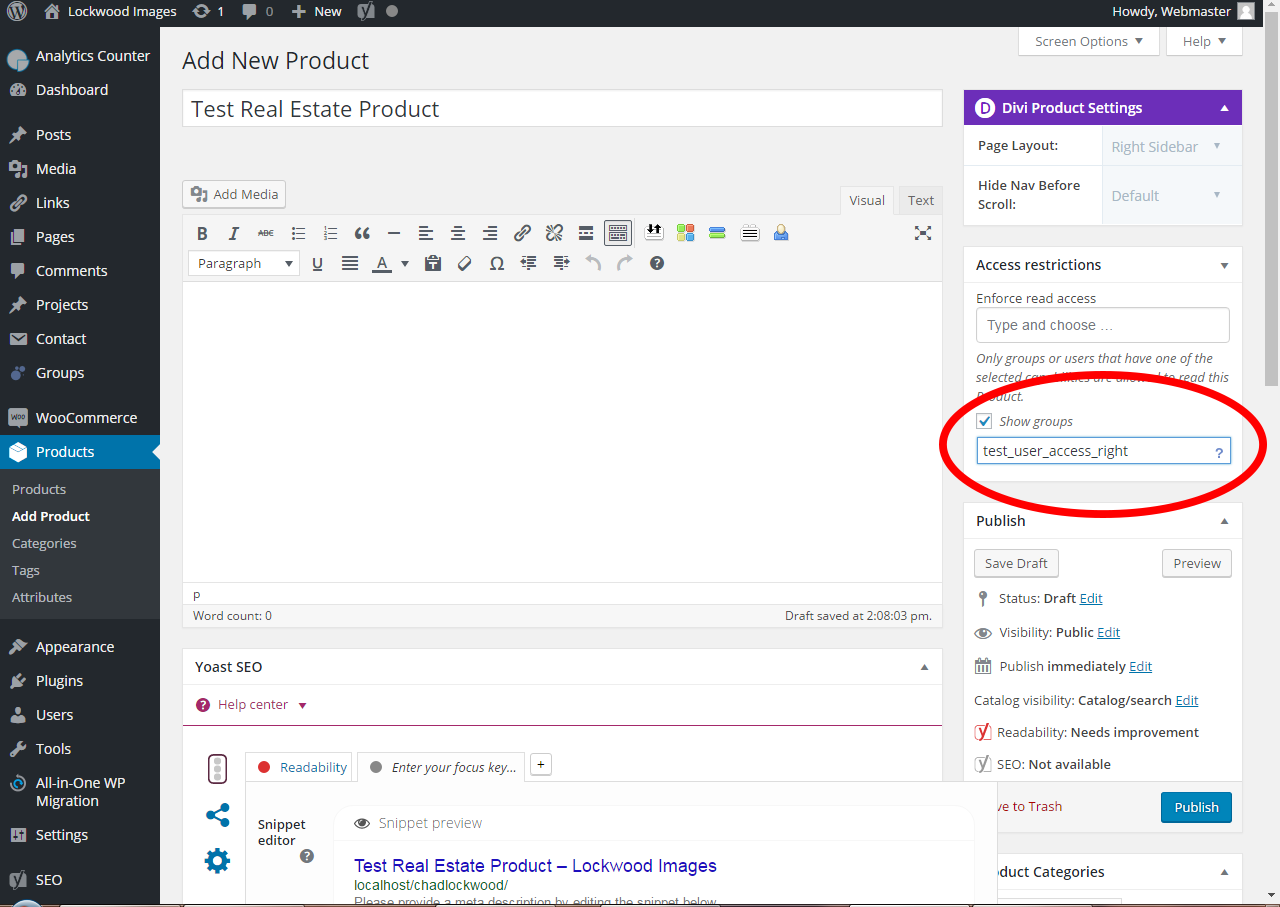
3a. For a totally new client, create a name for an access right in the box with the text “Quick-create group & capability”
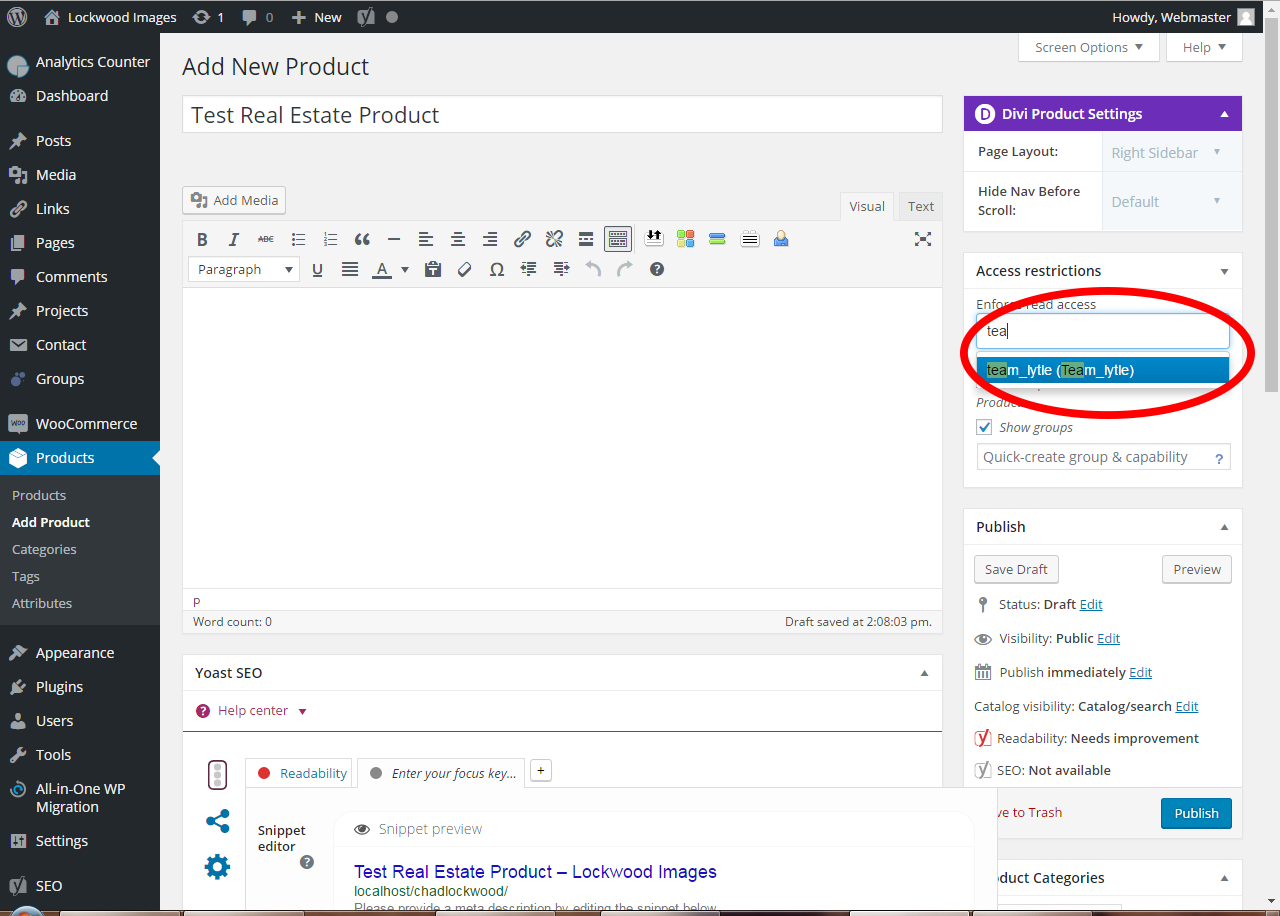
3b. If it is an existing client, begin typing the previously set up access right in the top box in this section. Auto complete should allow you to choose it from a list as you begin typing.
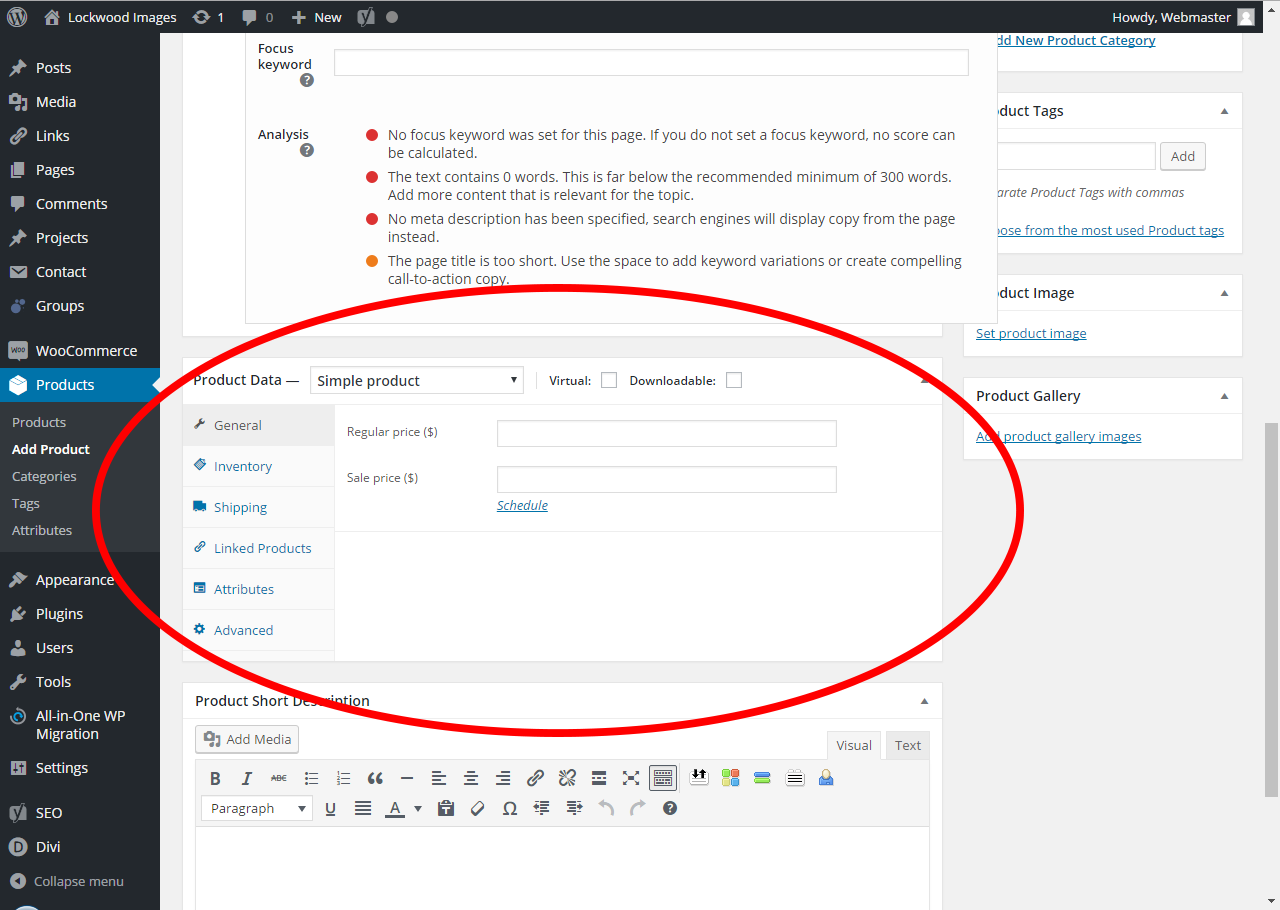
4. Scroll down until you see the section labeled “Product Data” in the middle.
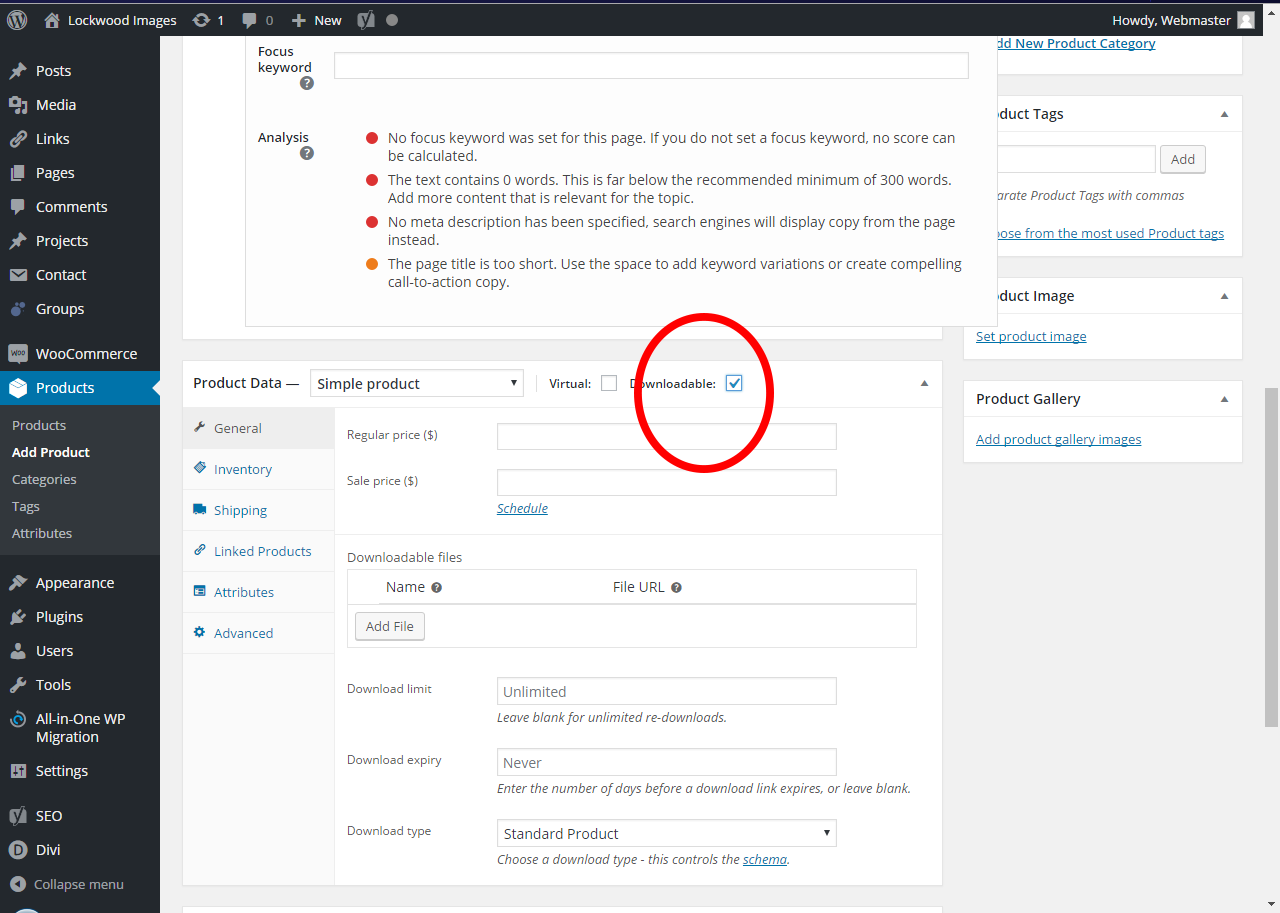
4a. Check the box labeled “Downloadable”
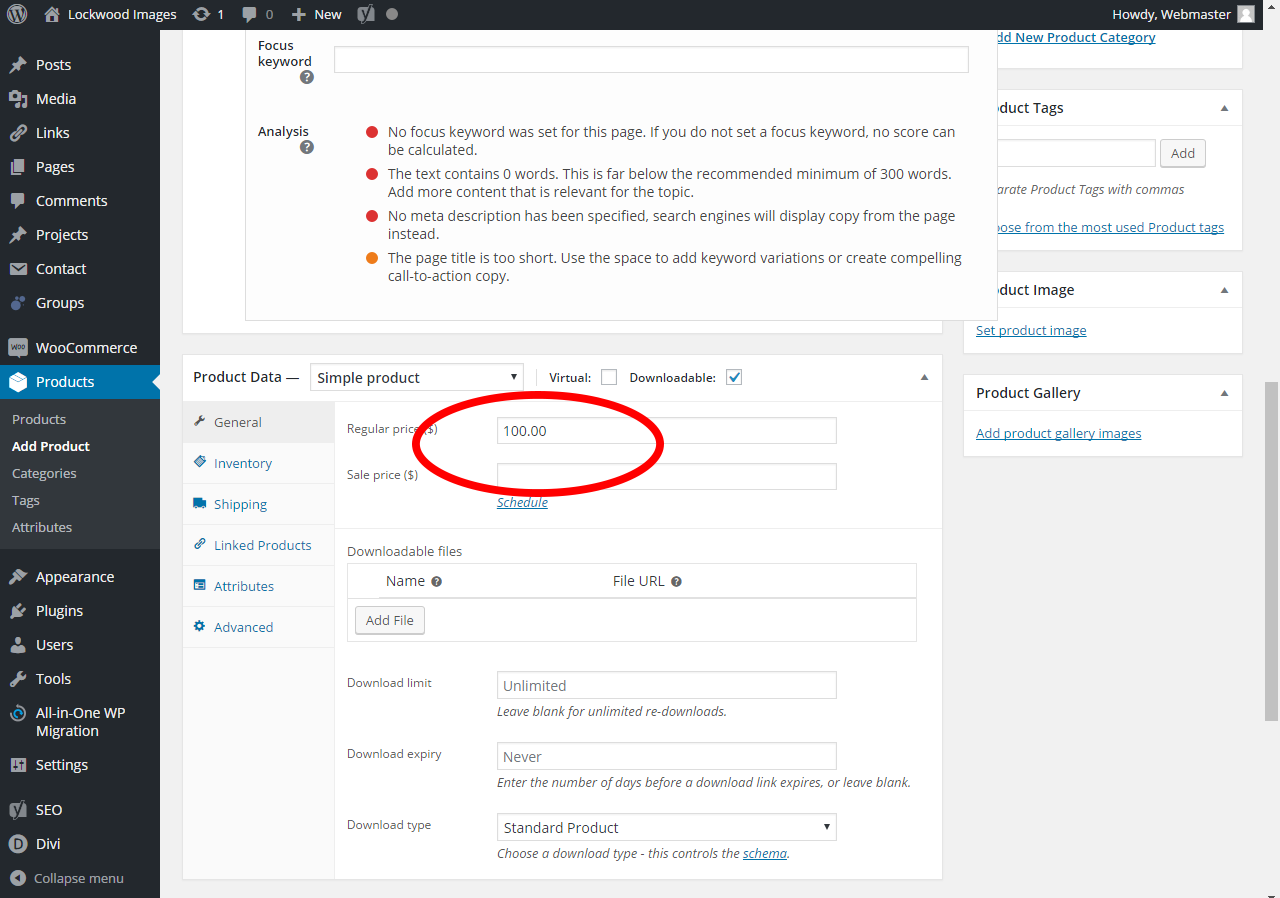
4b. Set the price
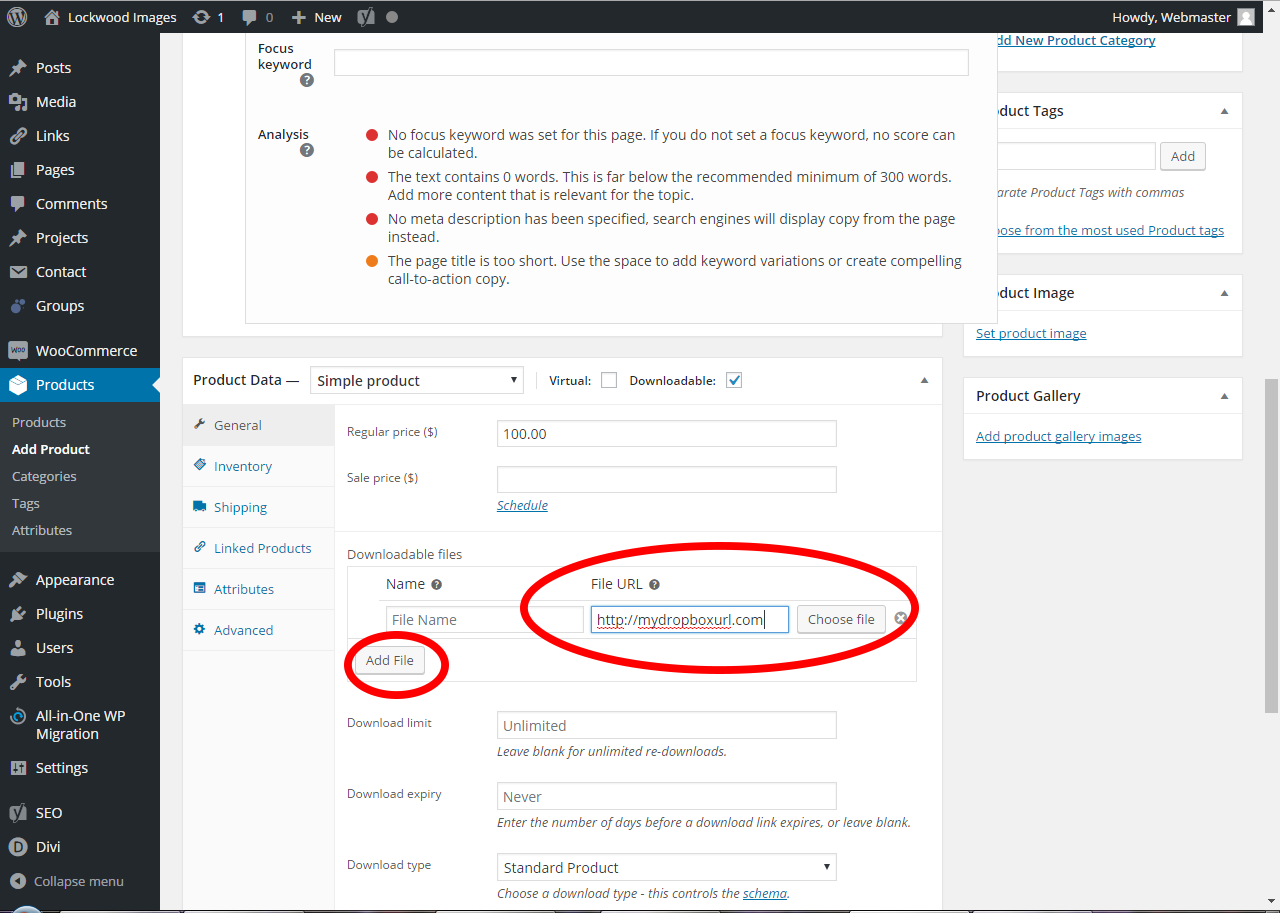
4c. Click the button labeled “Add File” in the next box below, and paste your dropbox url in the box labeled “File Url”

4d. Click the “Advanced” tab on the left and then uncheck the checkbox labeled “Enable Reviews”
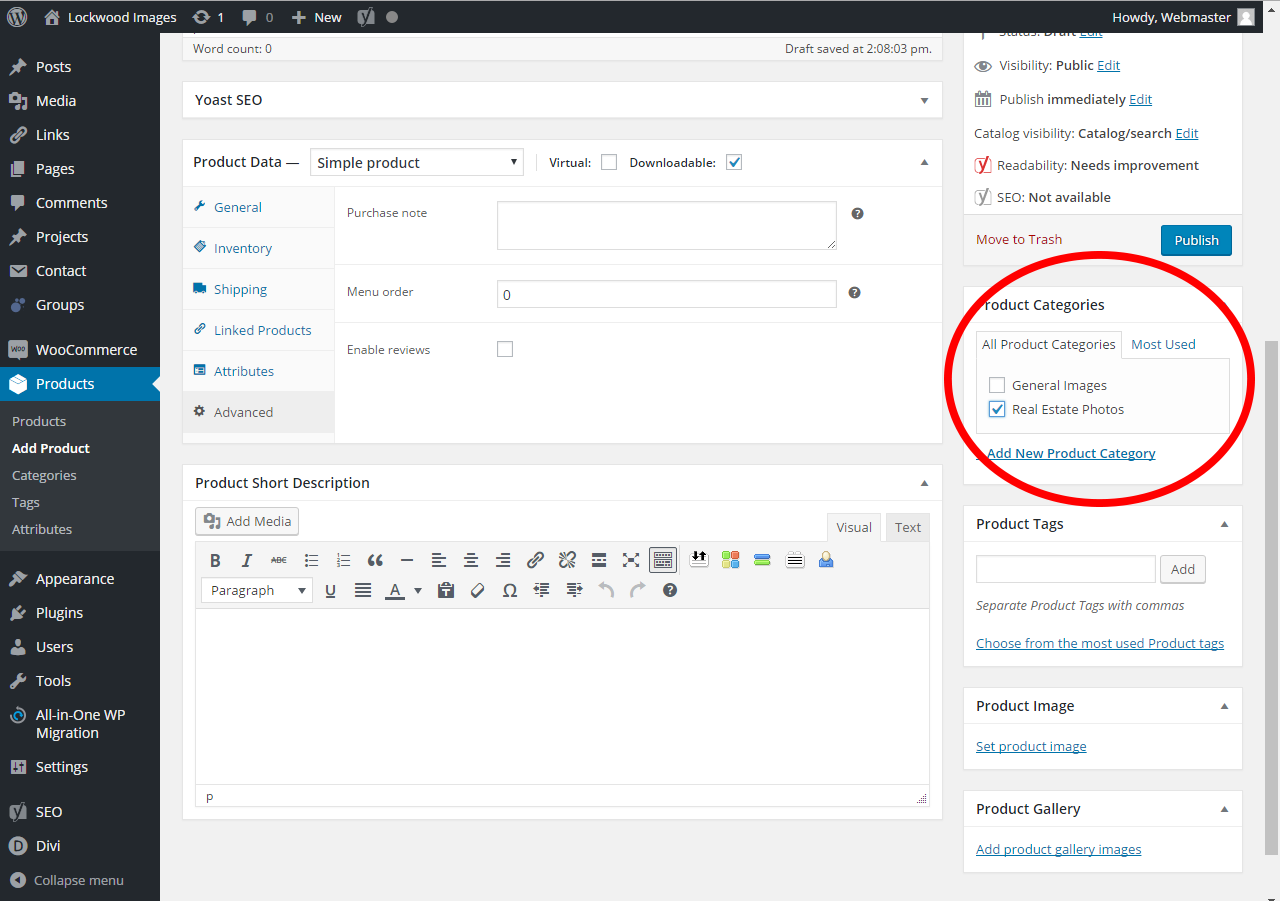
5. Scroll back up a little, and look on the right for the heading labeled “Product Categories” and check the box labeled “Real Estate Product”
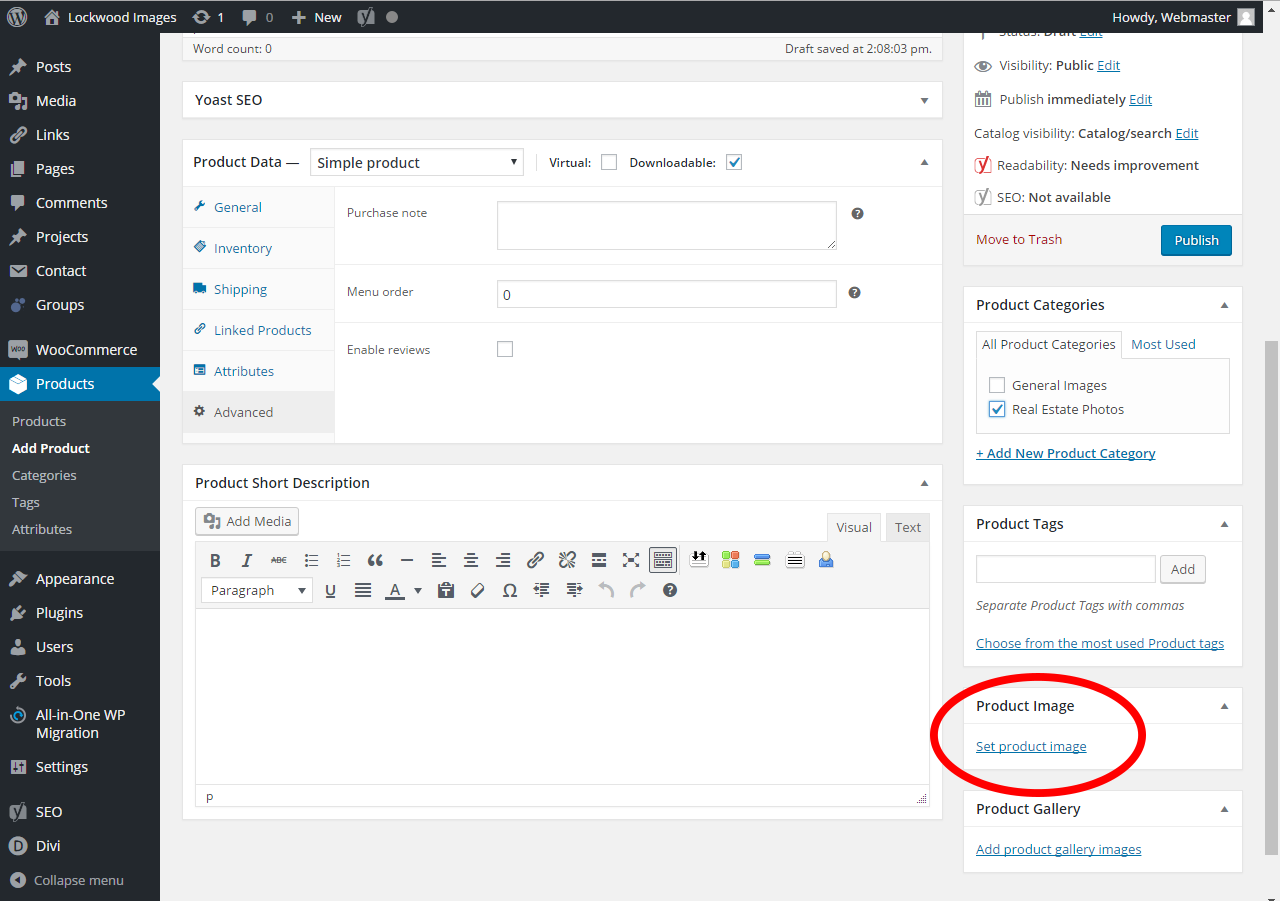
6. On the right side of the page, scroll down until you see the section “Product Image” and click the link “Set Product Image”
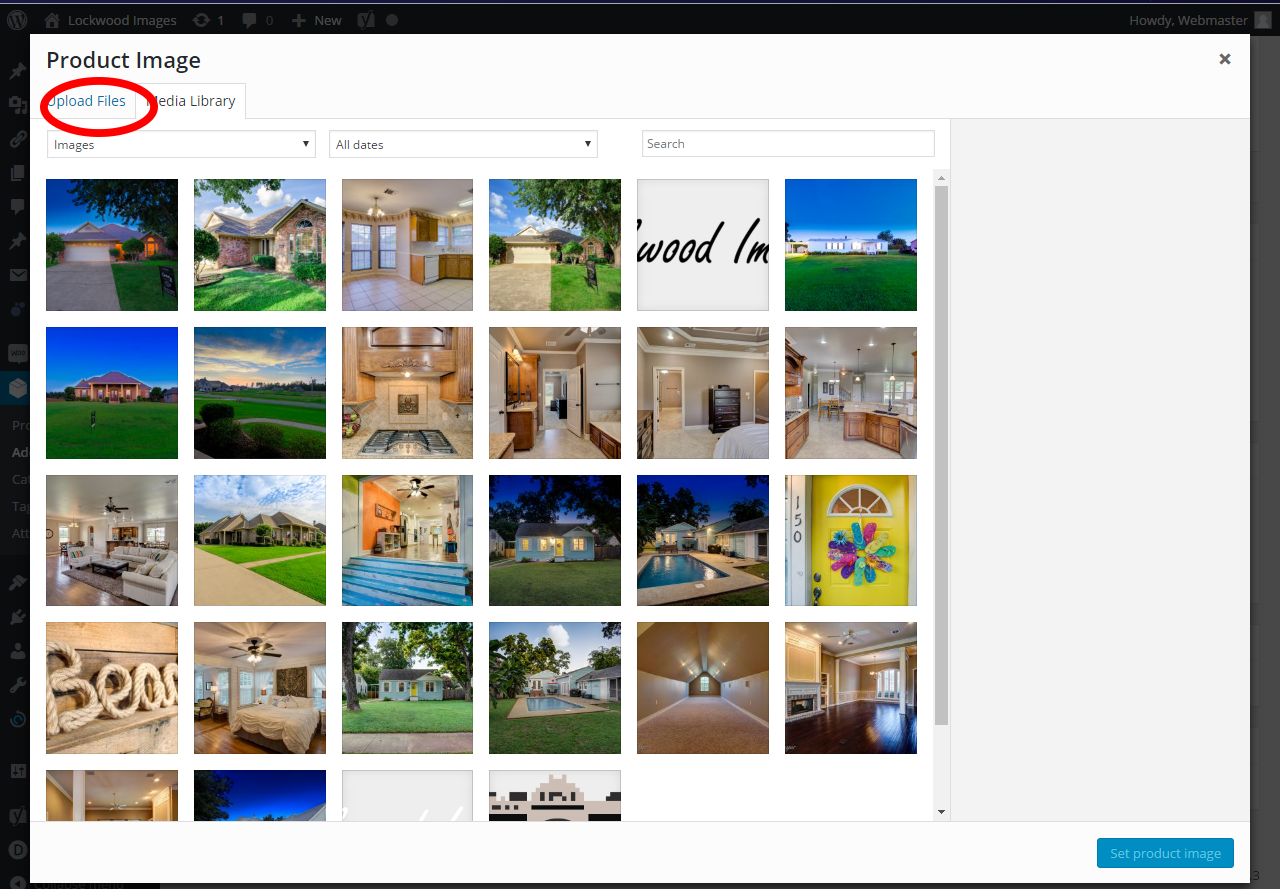
6a. If you are adding photos that aren’t on the site yet, click the upload tab at the top and upload your photo

6b. If the images are already on the site, click the Media Library tab at the top and select your photo
*Note, only one image can be used for the ‘Product Image’ section. This is the image that is displayed to the user that they can click on.
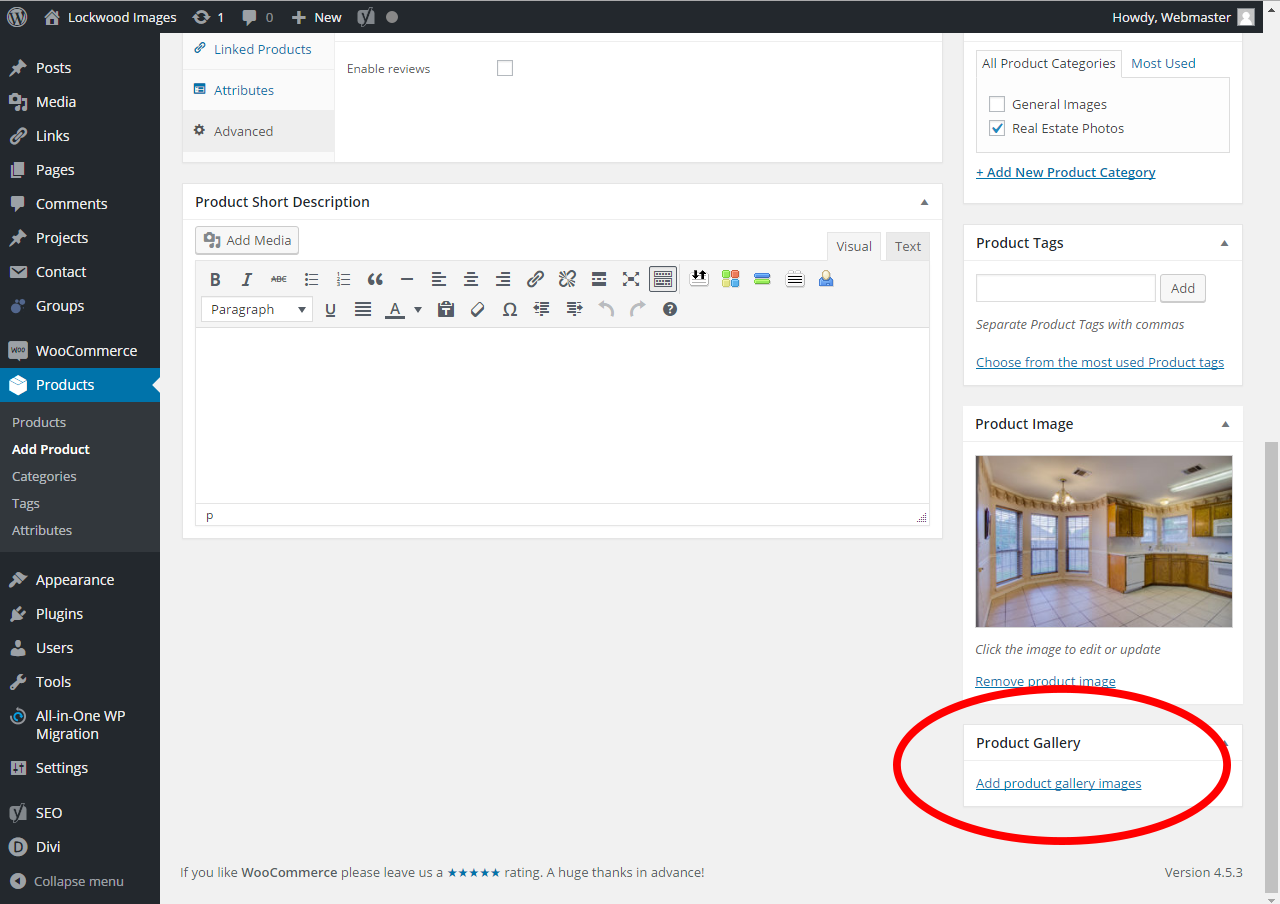
7. If you would like to add additional sample images for the customer, scroll down to the next section that is labeled “Product Gallery.” The process for adding additional photos is the same as step 6.
8. That’s it! Just click the publish button and the product is now set up.
Assign User Access Rights
In this brief section, I show you where to go to grant a user access rights.
What you need:
- A registered user to modify
- An access right that has been created
How to do it
-
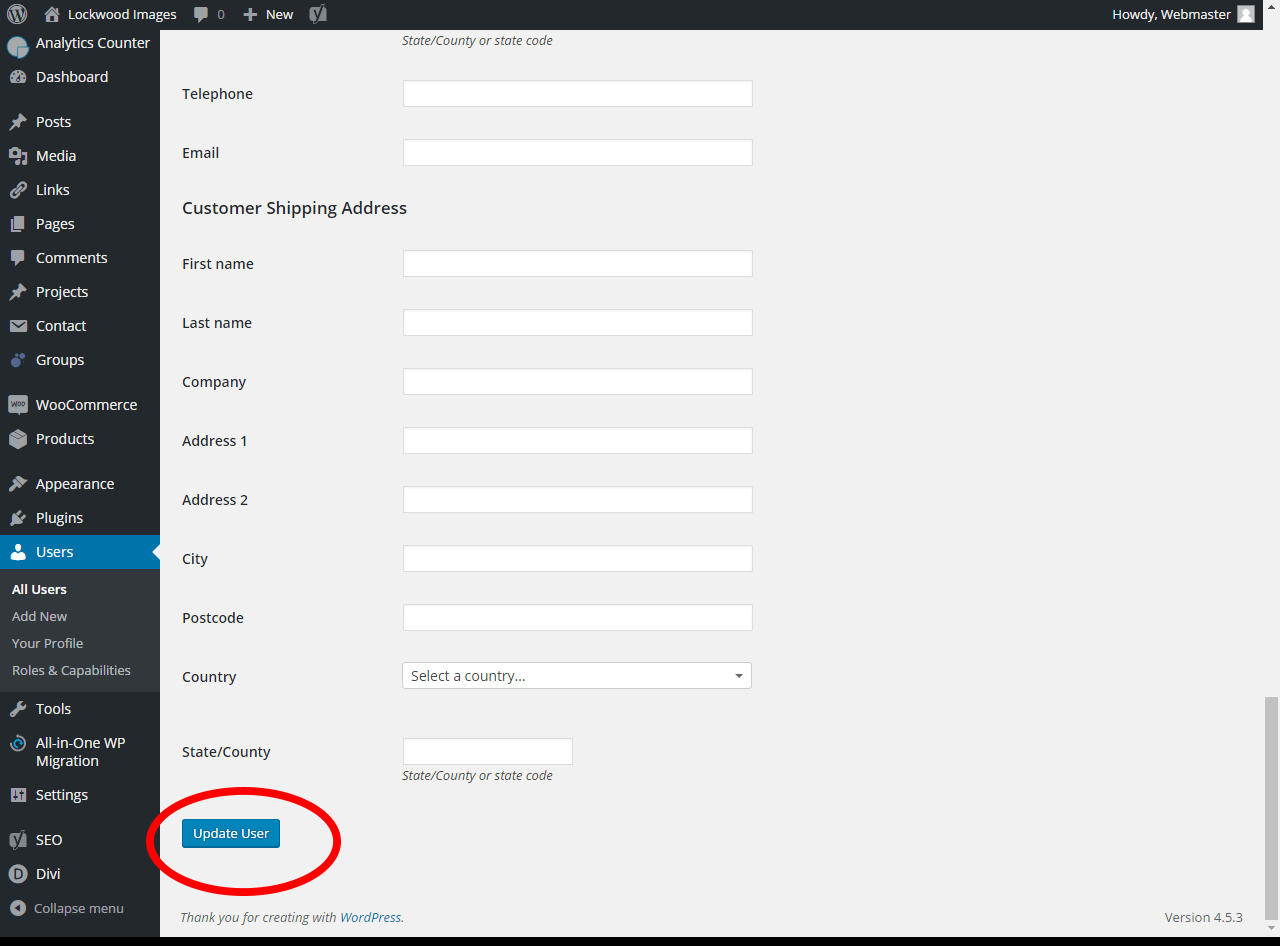
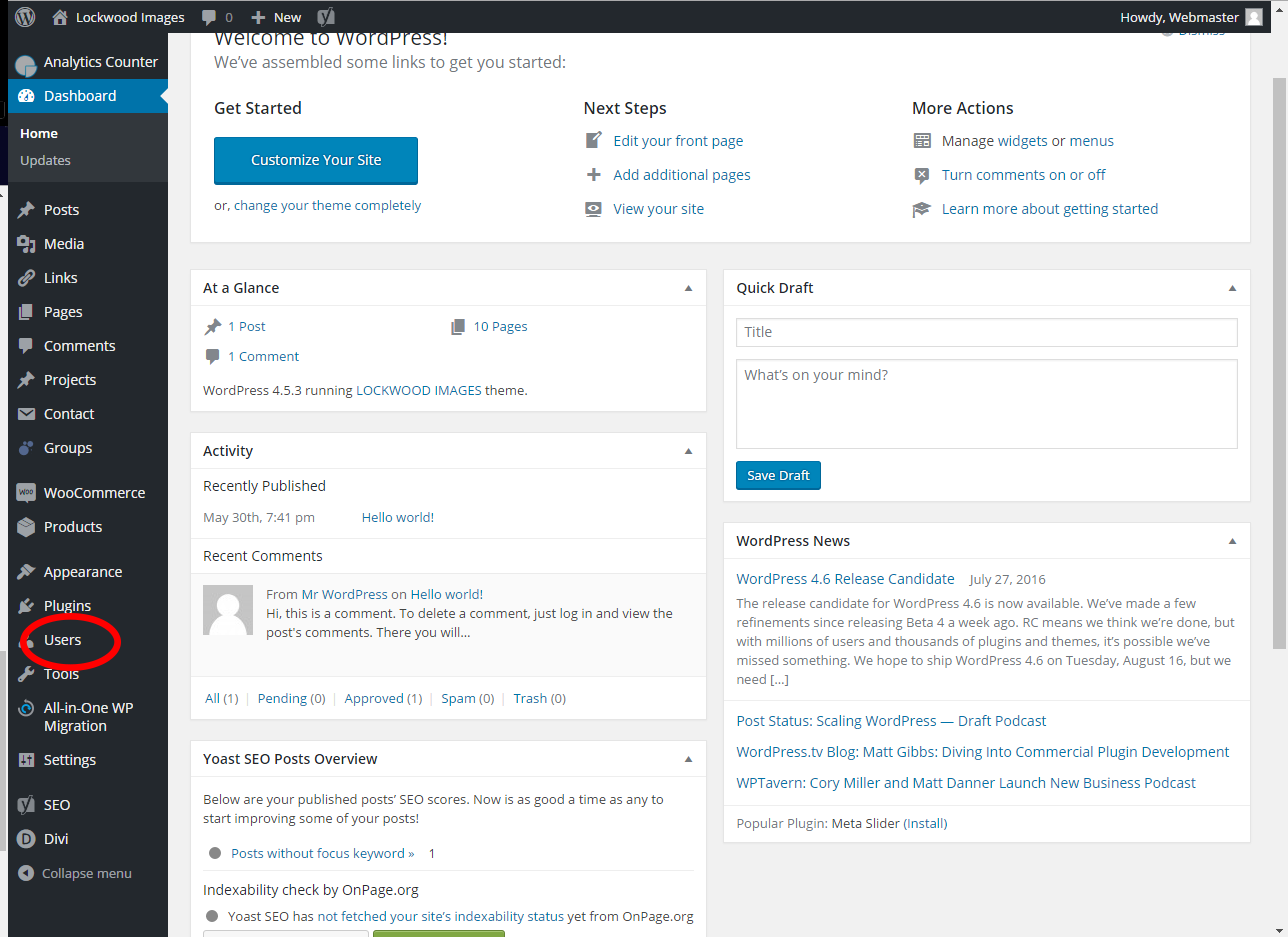
Login to your account and navigate to “Users” on the left in the wordpress dashboard
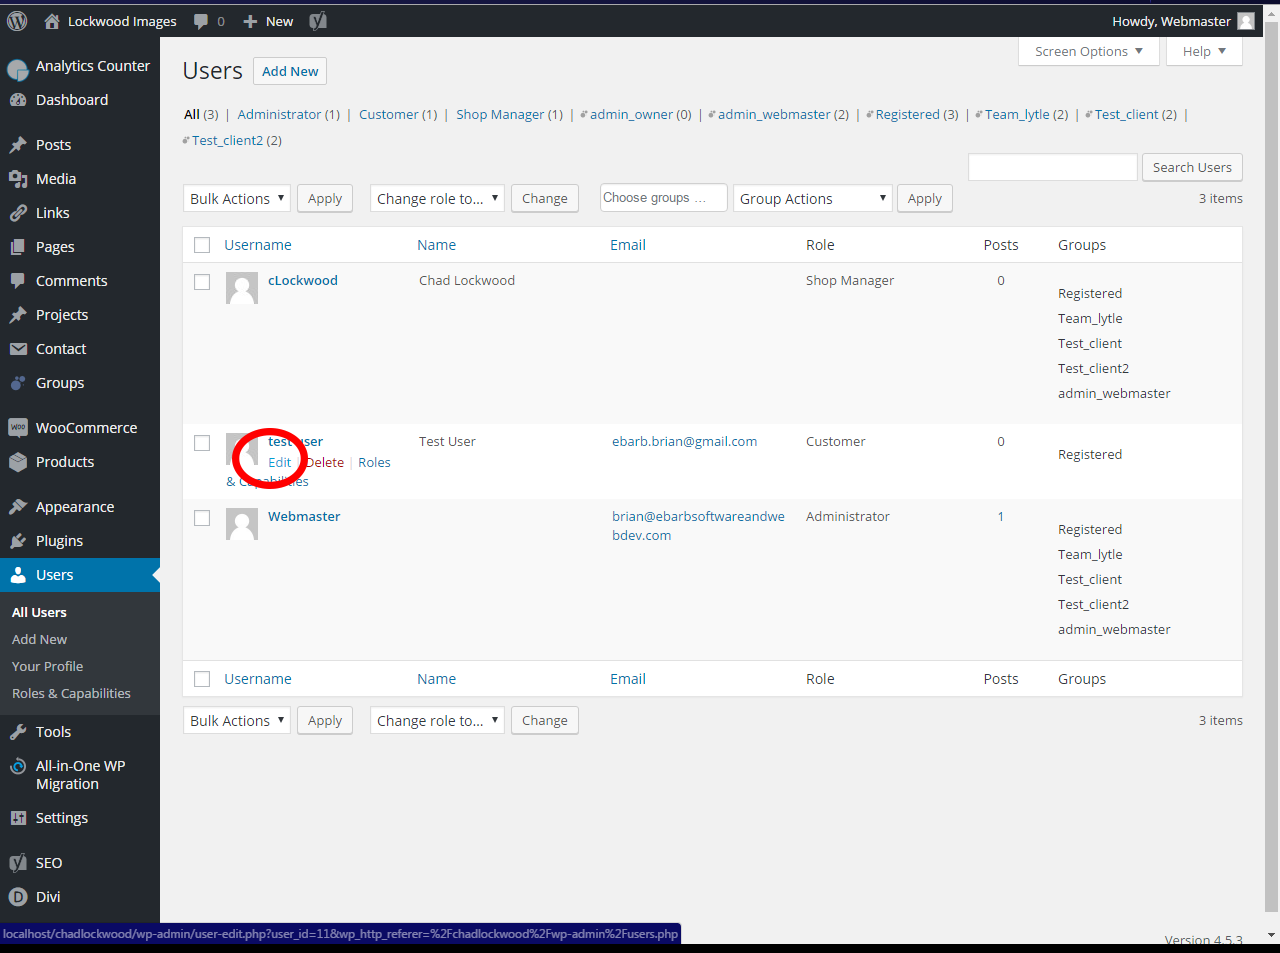
2. Click edit under the user you want to grant the access to
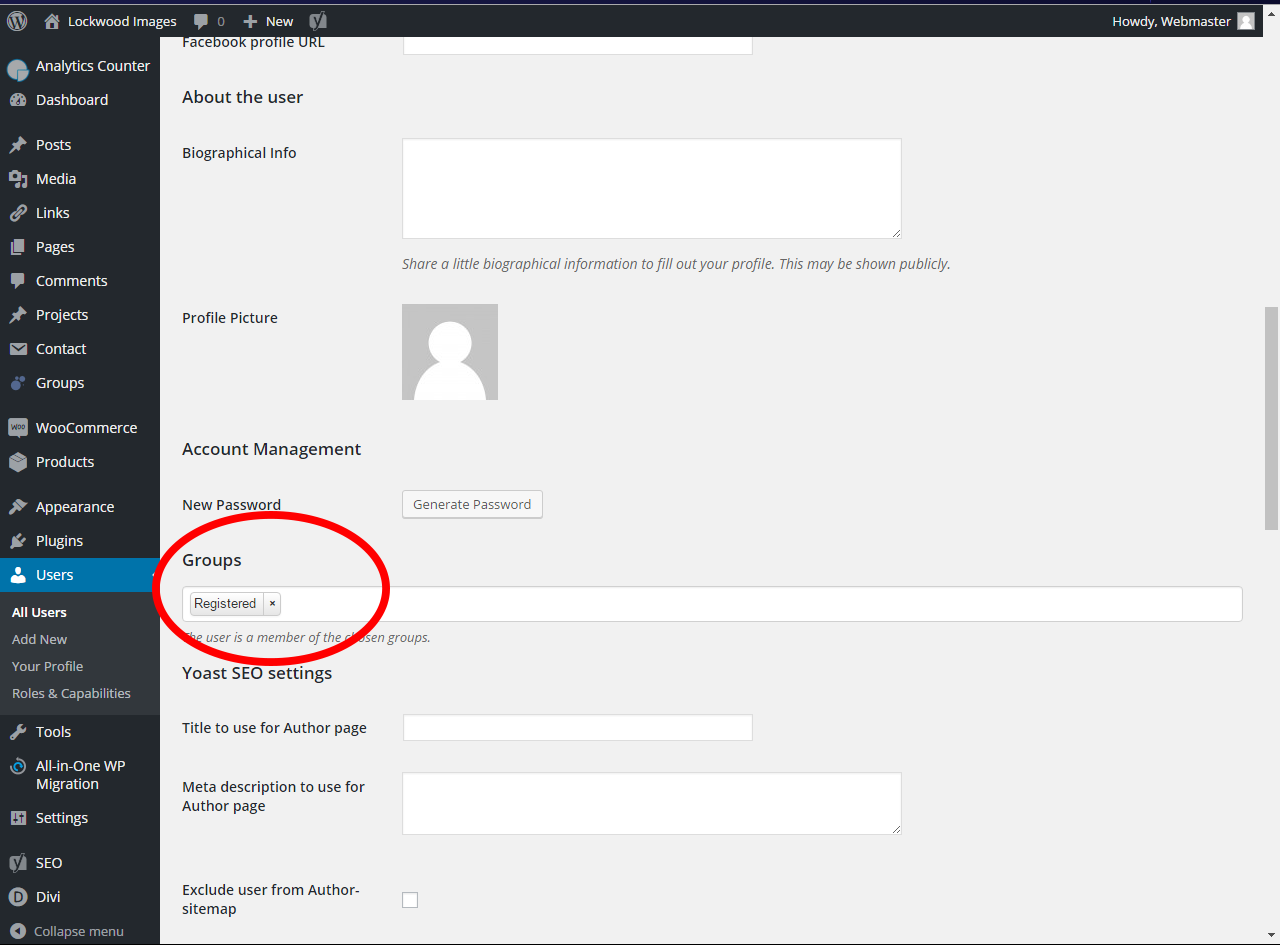
3. Scroll about halfway down the page looking for the heading labeled “Groups”
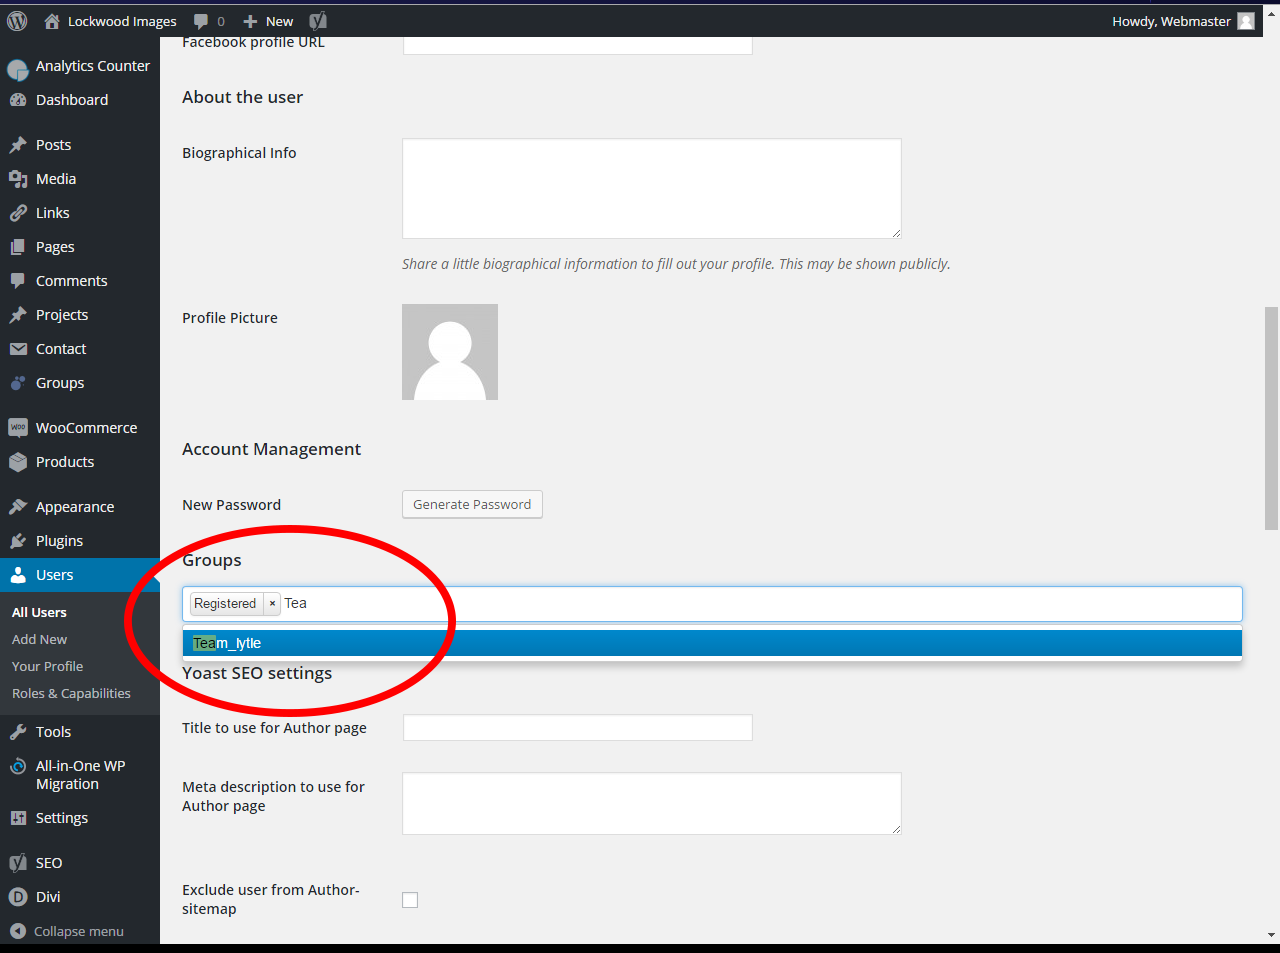
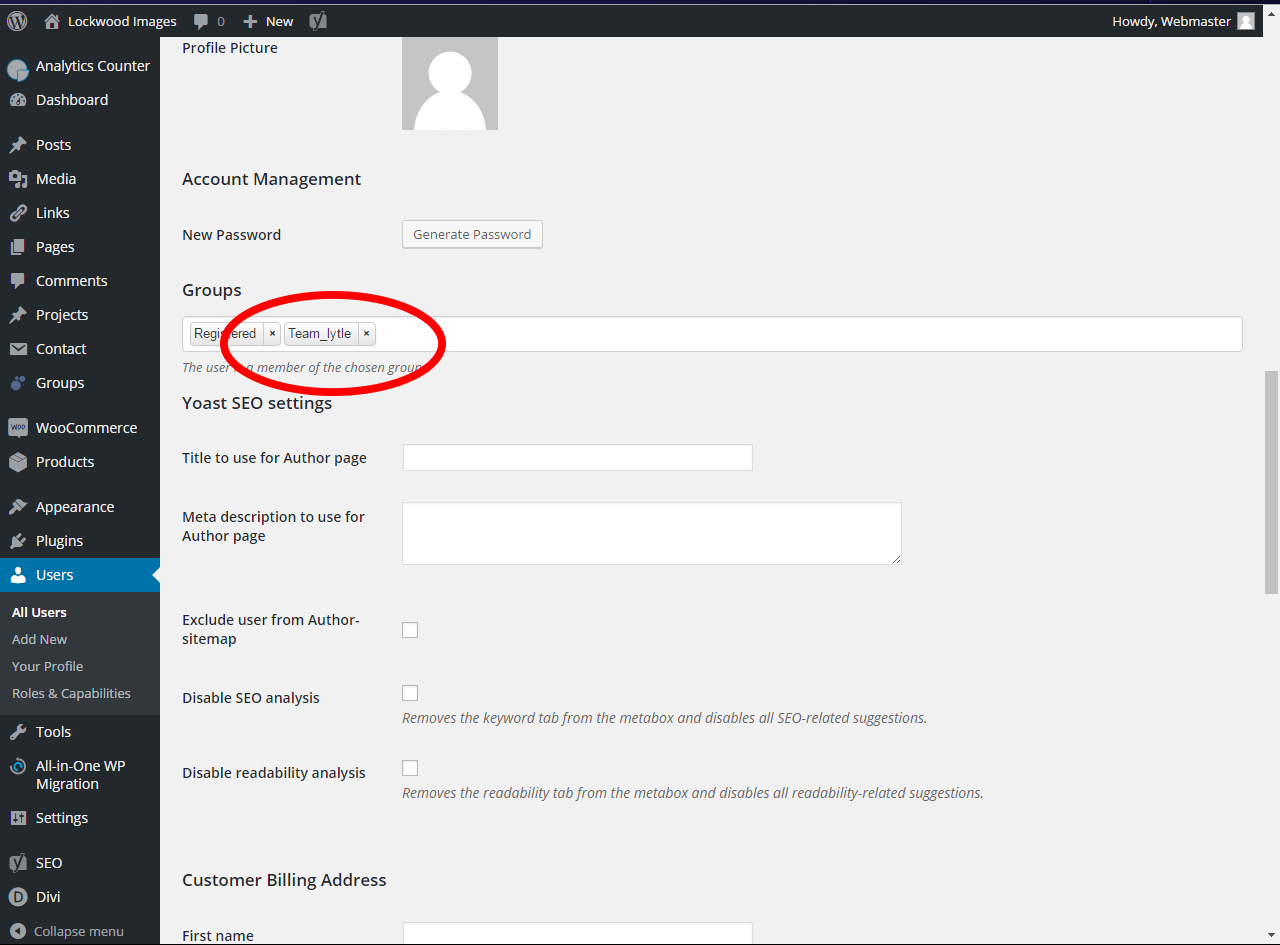
4. In the box, begin typing in the access right you want to add. Autocomplete should bring up a list and let you pick it as you type.