Sweet Tooth Delivery - User Manual
Welcome to your private personalized user manual!
Welcome to your custom user manual!
With Ebarb Software and Web Dev, you’re getting a developer that thoroughly listens and analyzes your needs to deliver a solution that works best for you. That being said. your website has been built as more than just a website. I’ve based the design on the WordPress framework, which in turn gives you the ability to log into your website privately, and make your own posts regarding news and specials. These posts update automatically on the website, and provide an easy way of sharing things on Facebook.
The user interface is very simple, but to make sure you understand how it works, I’m going to walk you through how to make your very own post on the website. Don’t worry, your login won’t have the access required to delete any files or make any changes to anything you don’t post yourself, so there’s no danger in breaking anything on the website as a whole!
Logging In
Before we can post anything, we have to log into the website so the web server knows you are authorized to make posts.
For enhanced security, your website doesn’t have any sort of login button, so you’re going to have to navigate to the login screen manually. What you need to do, whether you’re on a mobile device or a PC, is go to your navigation bar in your web browser(the location where the web address is displayed), and move the cursor to the very end of the line, and ensure the entire line is not highlighted so you don’t delete the text already there when you start typing. Then simply type:
“/wp-admin”
without the quotes and hit return or go, depending on your device.
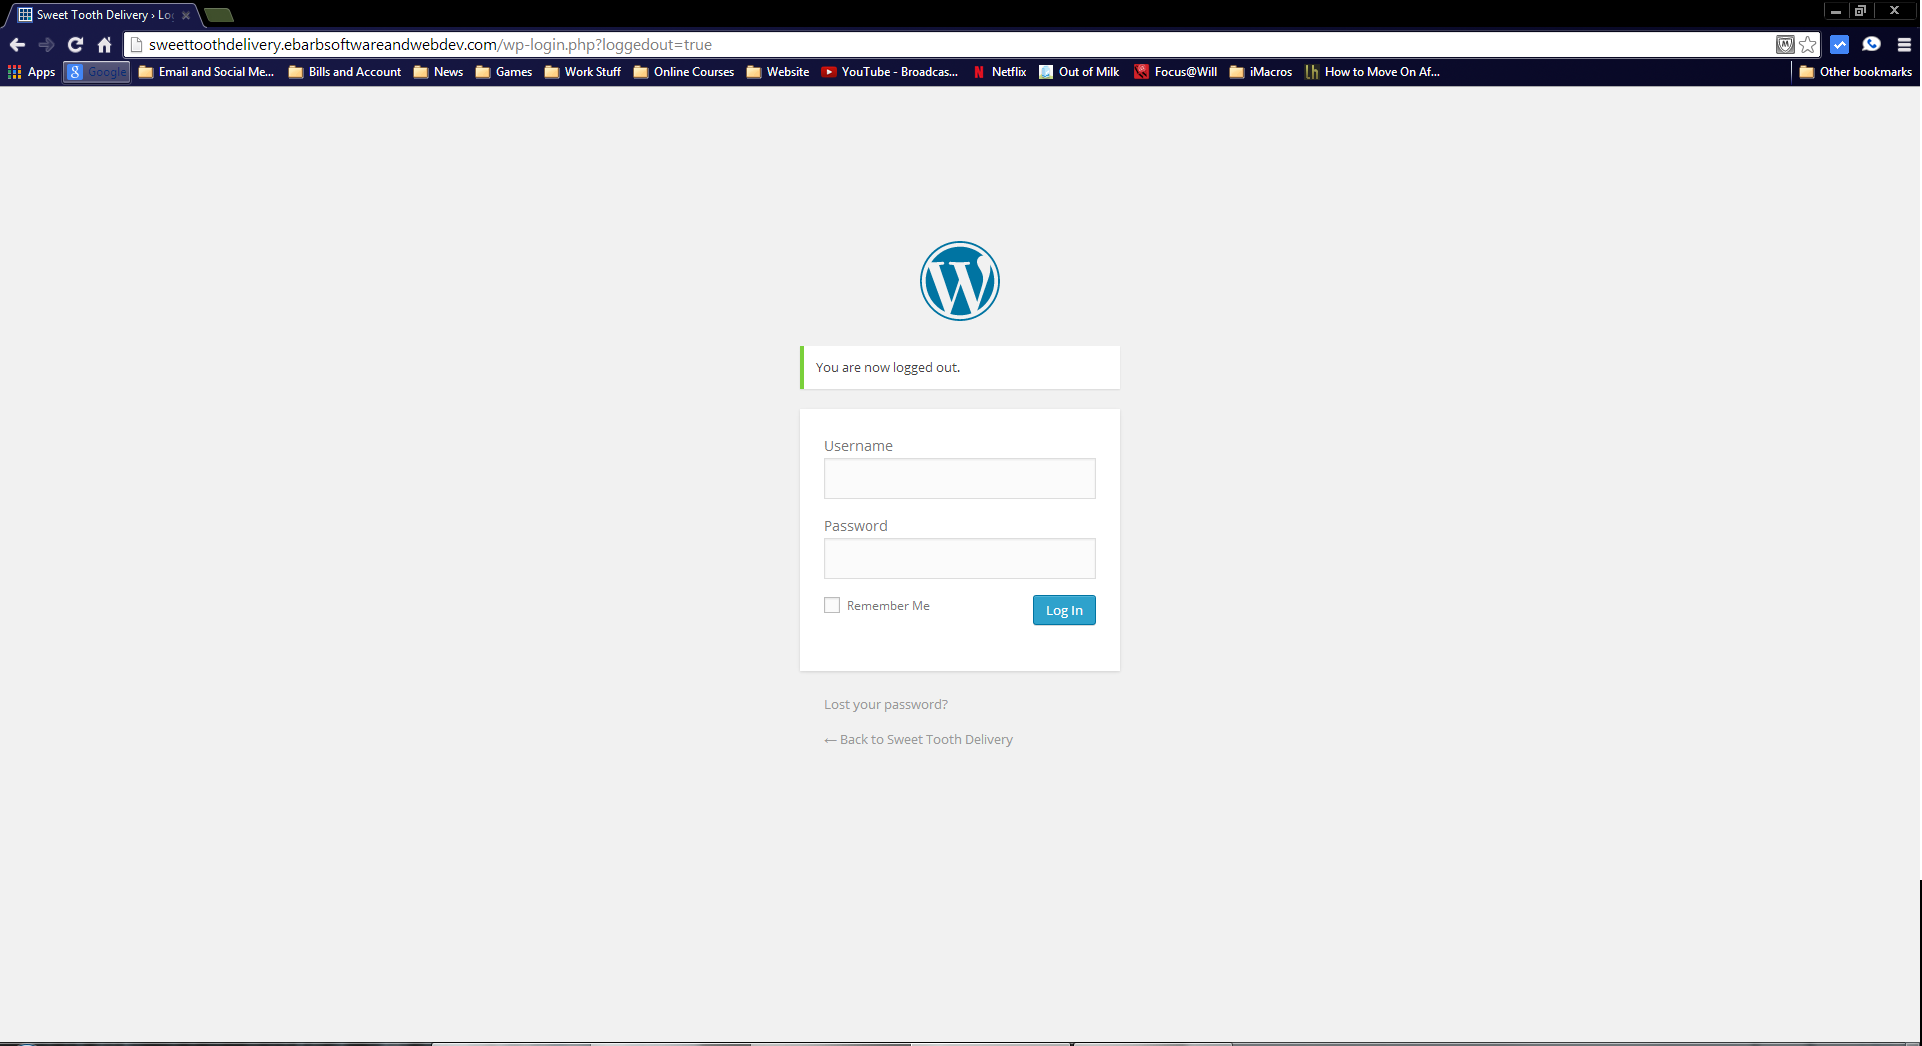
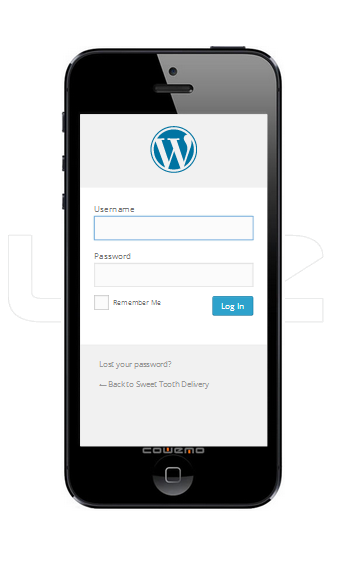
The Login Screen
Once you enter the /wp-admin at the end of the web address, your browser should load a page like one of the ones depicted to the left, depending on whether you’re on mobile or PC.
Once on this screen, simply enter the user name and password that I have provided for you via email. If you need your username again, please give me a call. If you lost your password, you may simply click the link at the bottom of the form for lost password.
Enter your login credentials and press the Login Button to proceed.
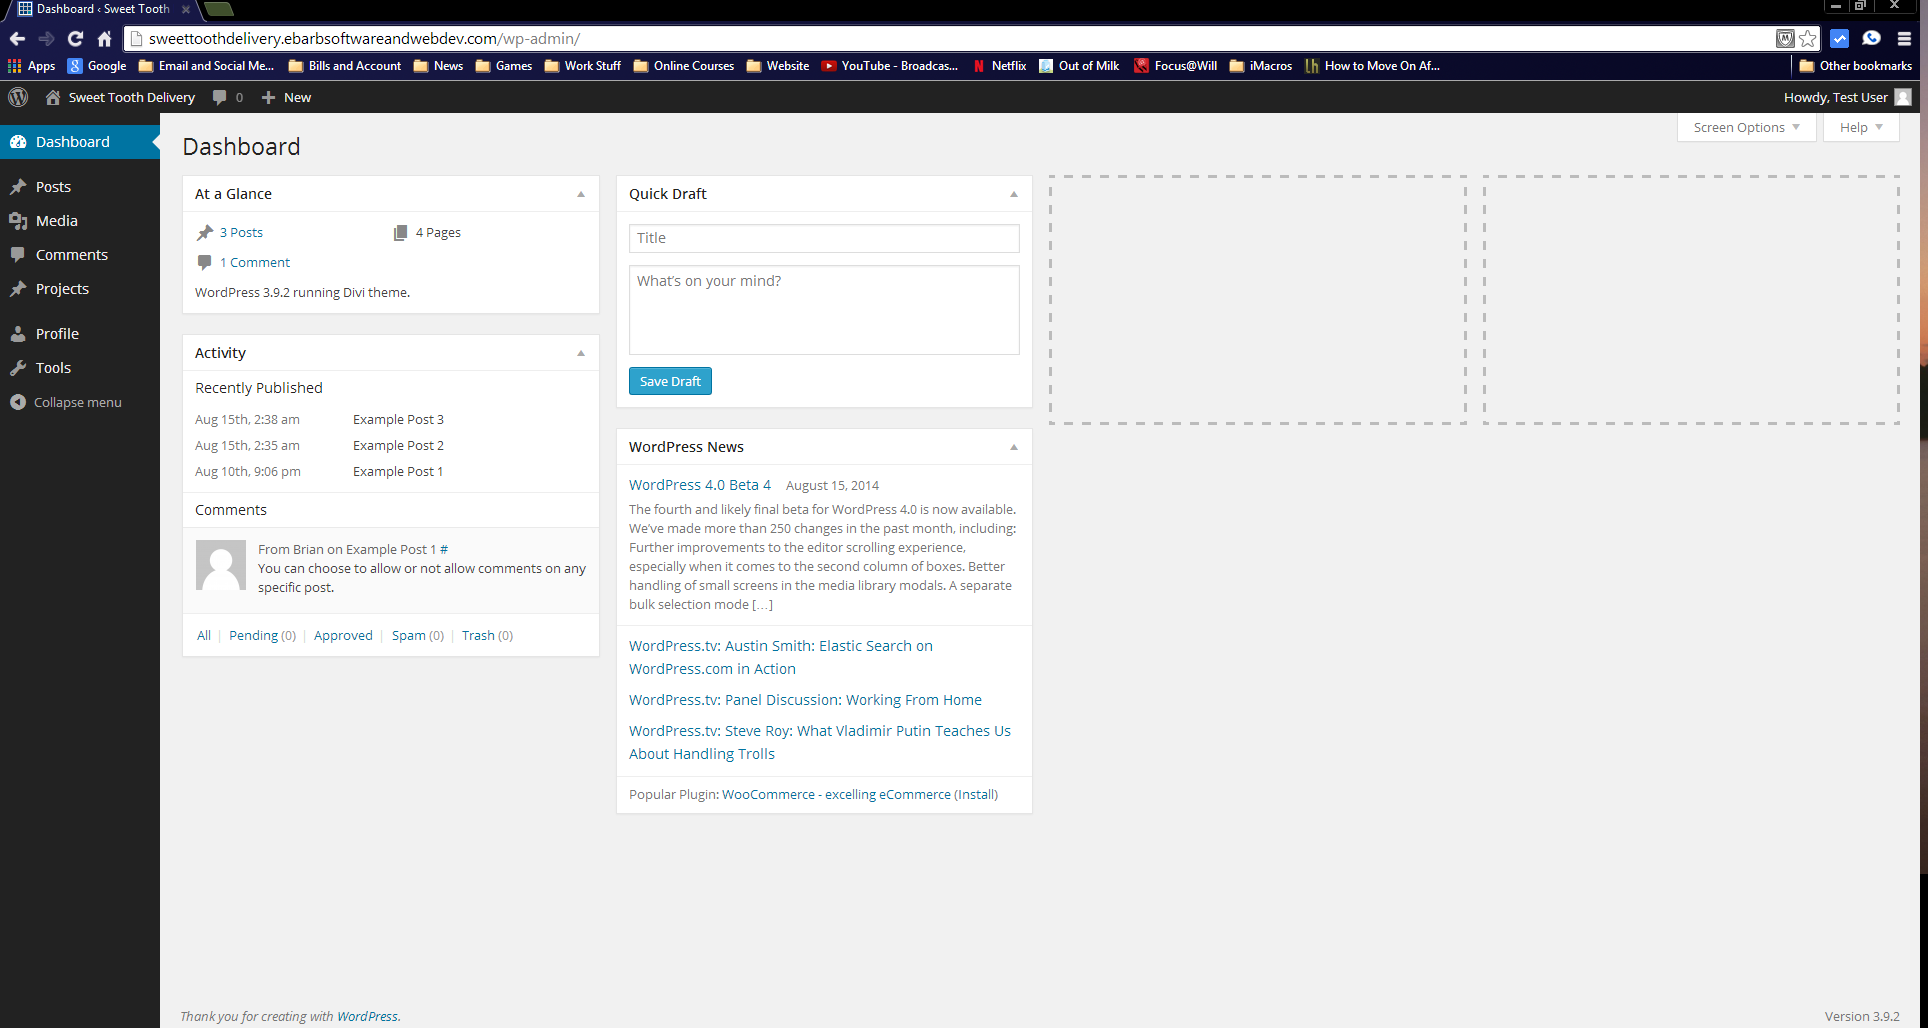
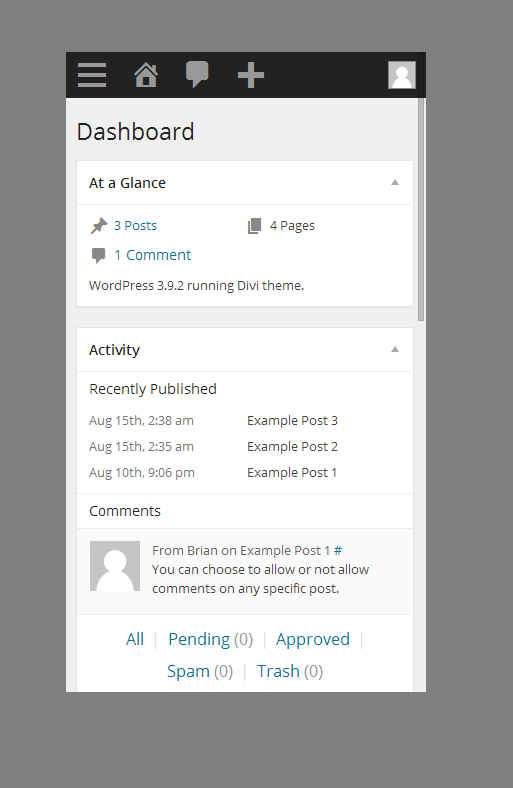
The Dashboard
Once logged in, you’ll be re-directed to what’s called the WordPress Dashboard. From here, you can perform various maintenance activities, such as uploading images, creating posts, etc. Not to worry, you’ll only have access to delete the content that you upload or post, so nothing regarding site’s structure can be effected by your activities here. Here is what the dashboard should look like for PC and mobile devices.
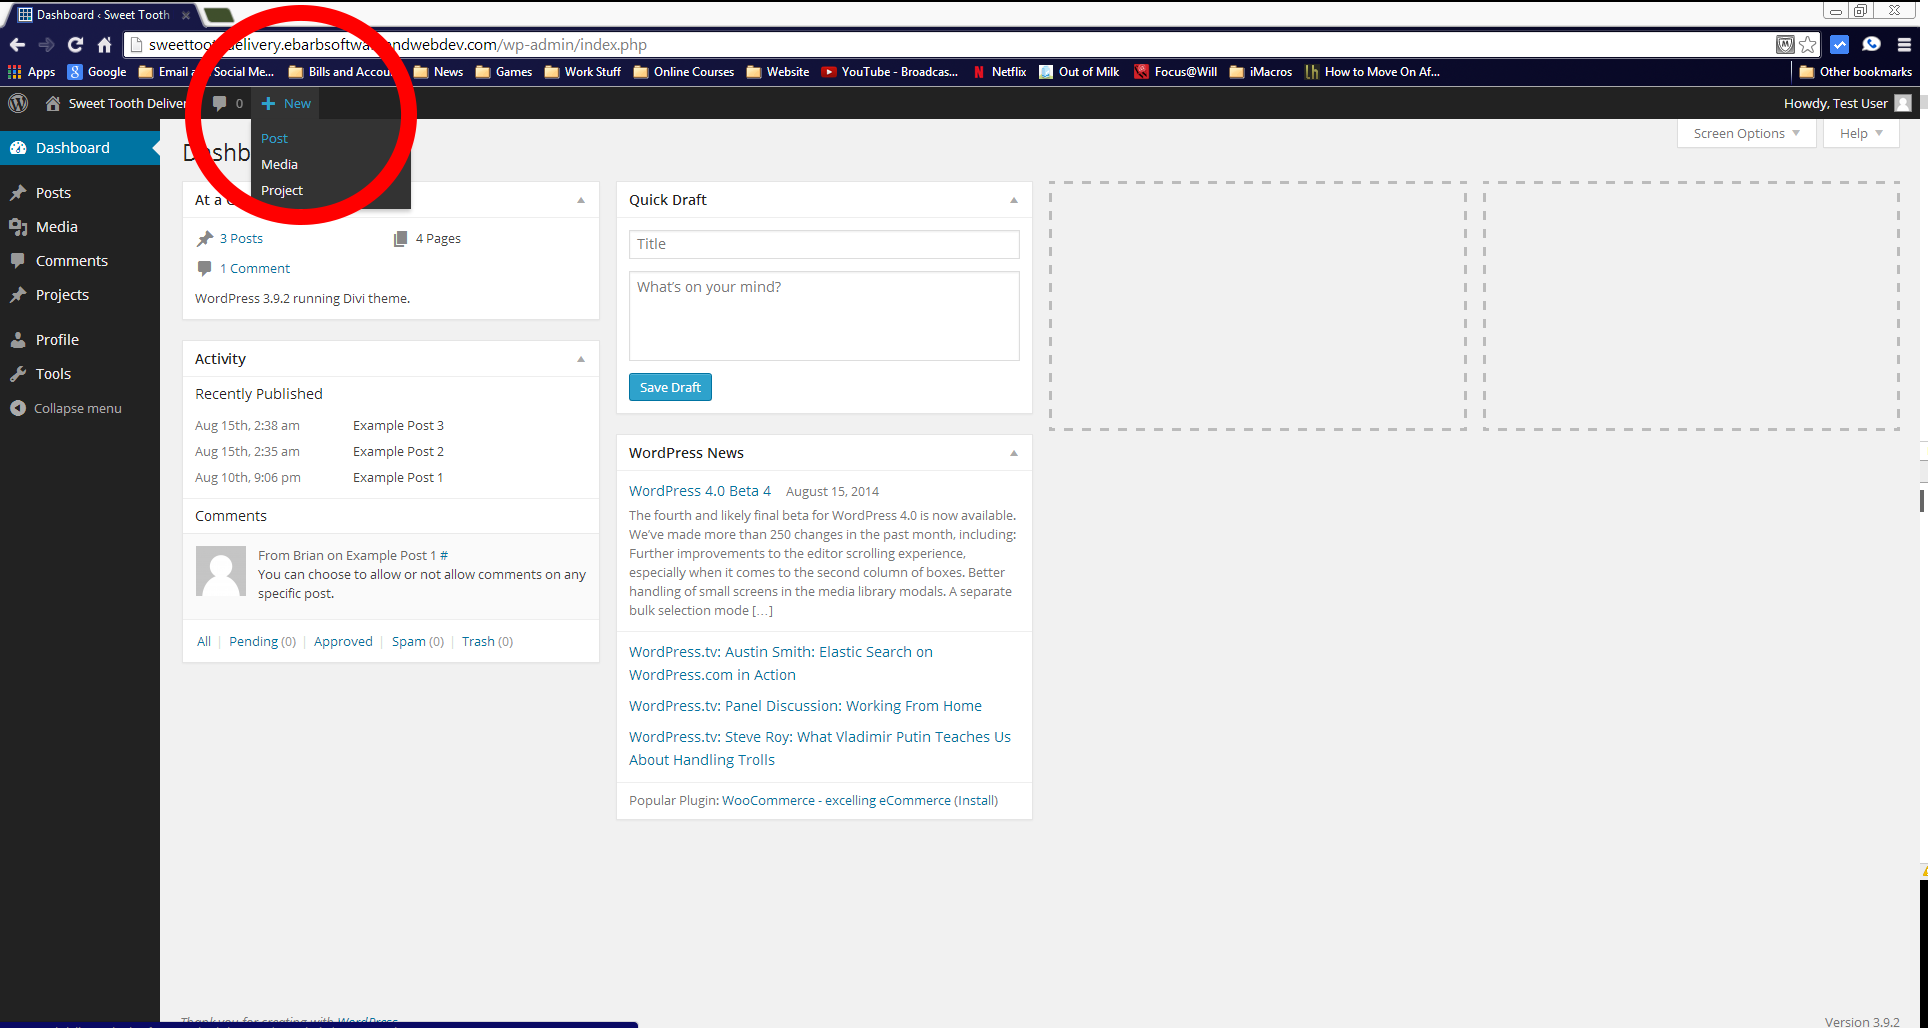

Creating a New Post
In order to post news, or information on a special you want to run, we need to create a new post. To get started, we just need to click new at the top of the nav bar on desktop, or the plus symbol on mobile, and then select the word “Post”.
Composing a Post
Once we’ve selected create a new post, we’ll be taken to a familiar looking word processor type of screen. Here you of course enter a title, and the text of your post in whatever format or style that you prefer. You can also insert images into the content by pressing the “Add Media” Button. Before you “Publish” the post, you’ll want to make sure you’ve set a Category and a Featured Image, so the post will display on the web site in an aesthetically pleasing way. This will be illustrated below. For now, prepare your message and lets take a look at inserting an image into the post next.
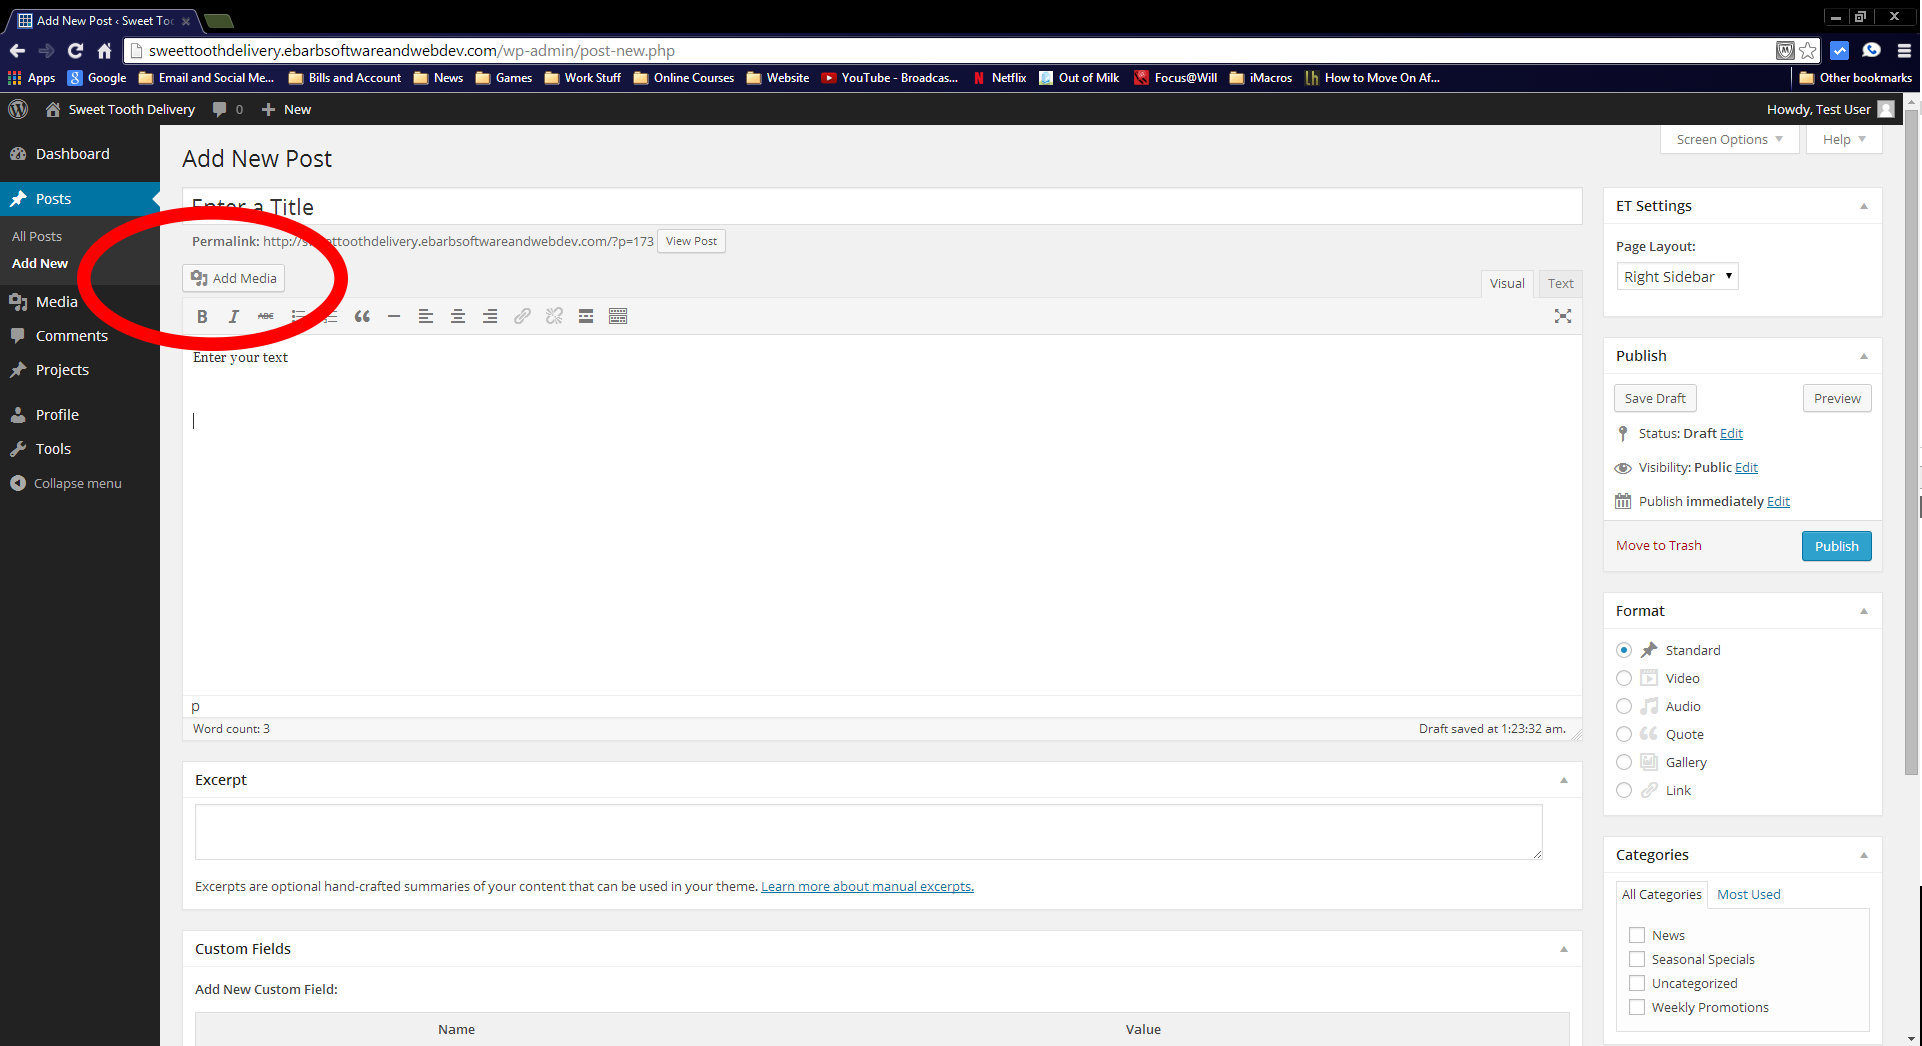
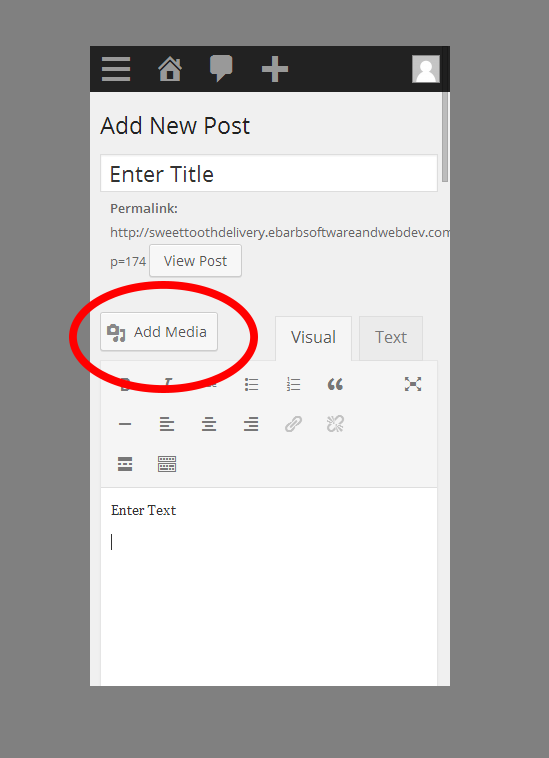
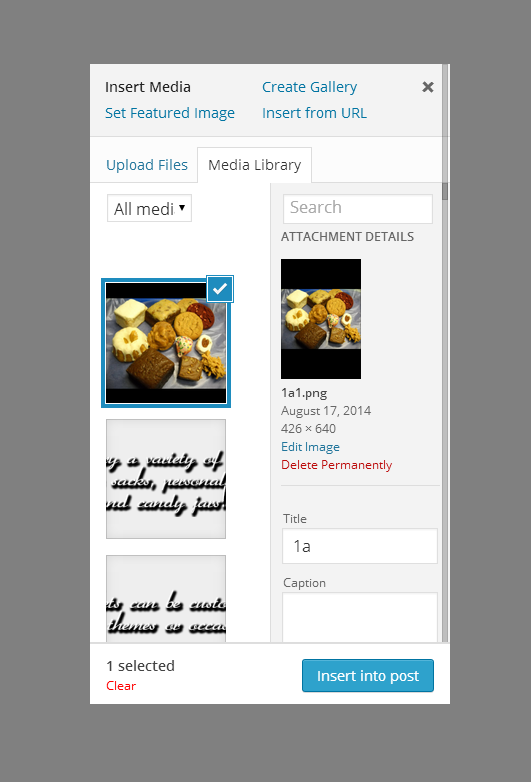
Adding Files
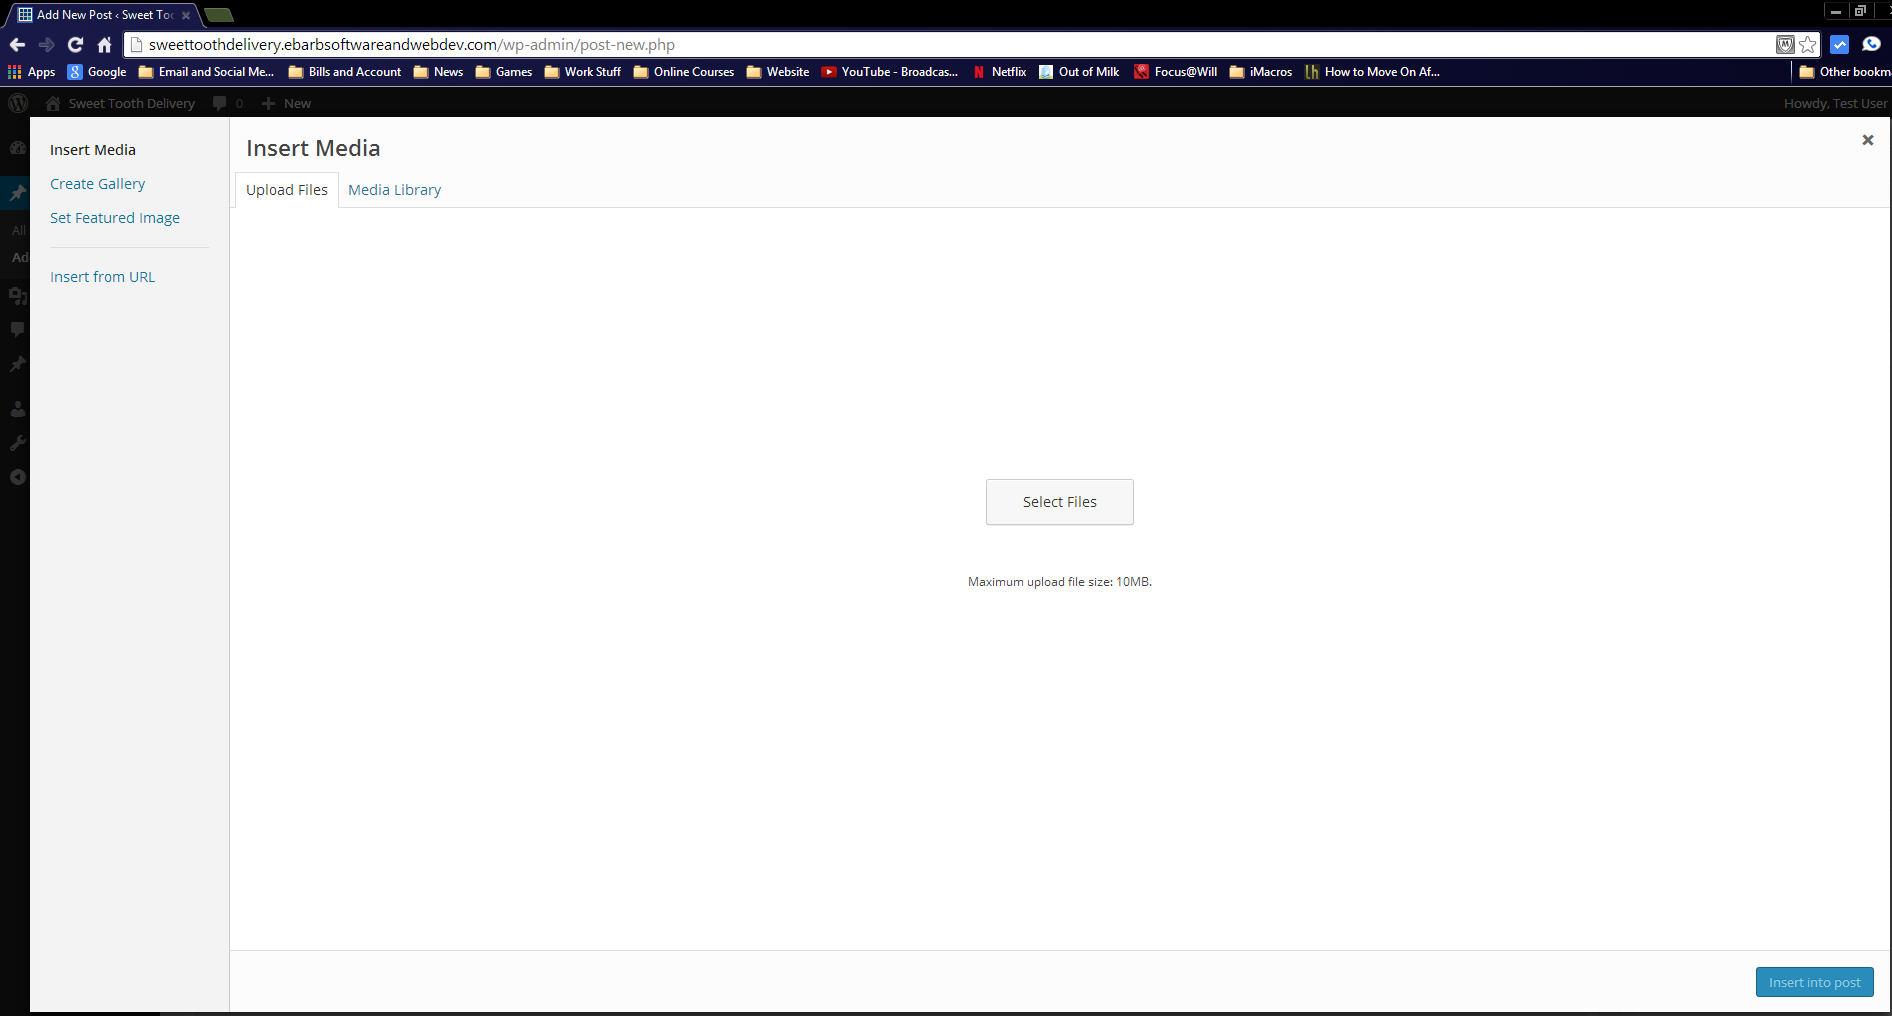
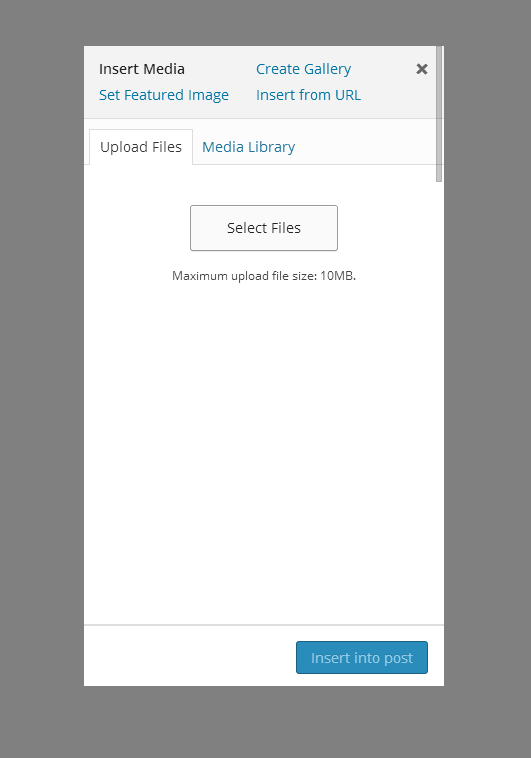
Once you’ve selected “Add Media” You’ll be taken to a screen that looks like one of the adjacent images. From here, the process is quite similar to attaching a file to an email. You simply select the file from your device that you want to upload and it will be uploaded into the sites media database. On desktop this is very easy as you can even drag and drop files from Windows folders.
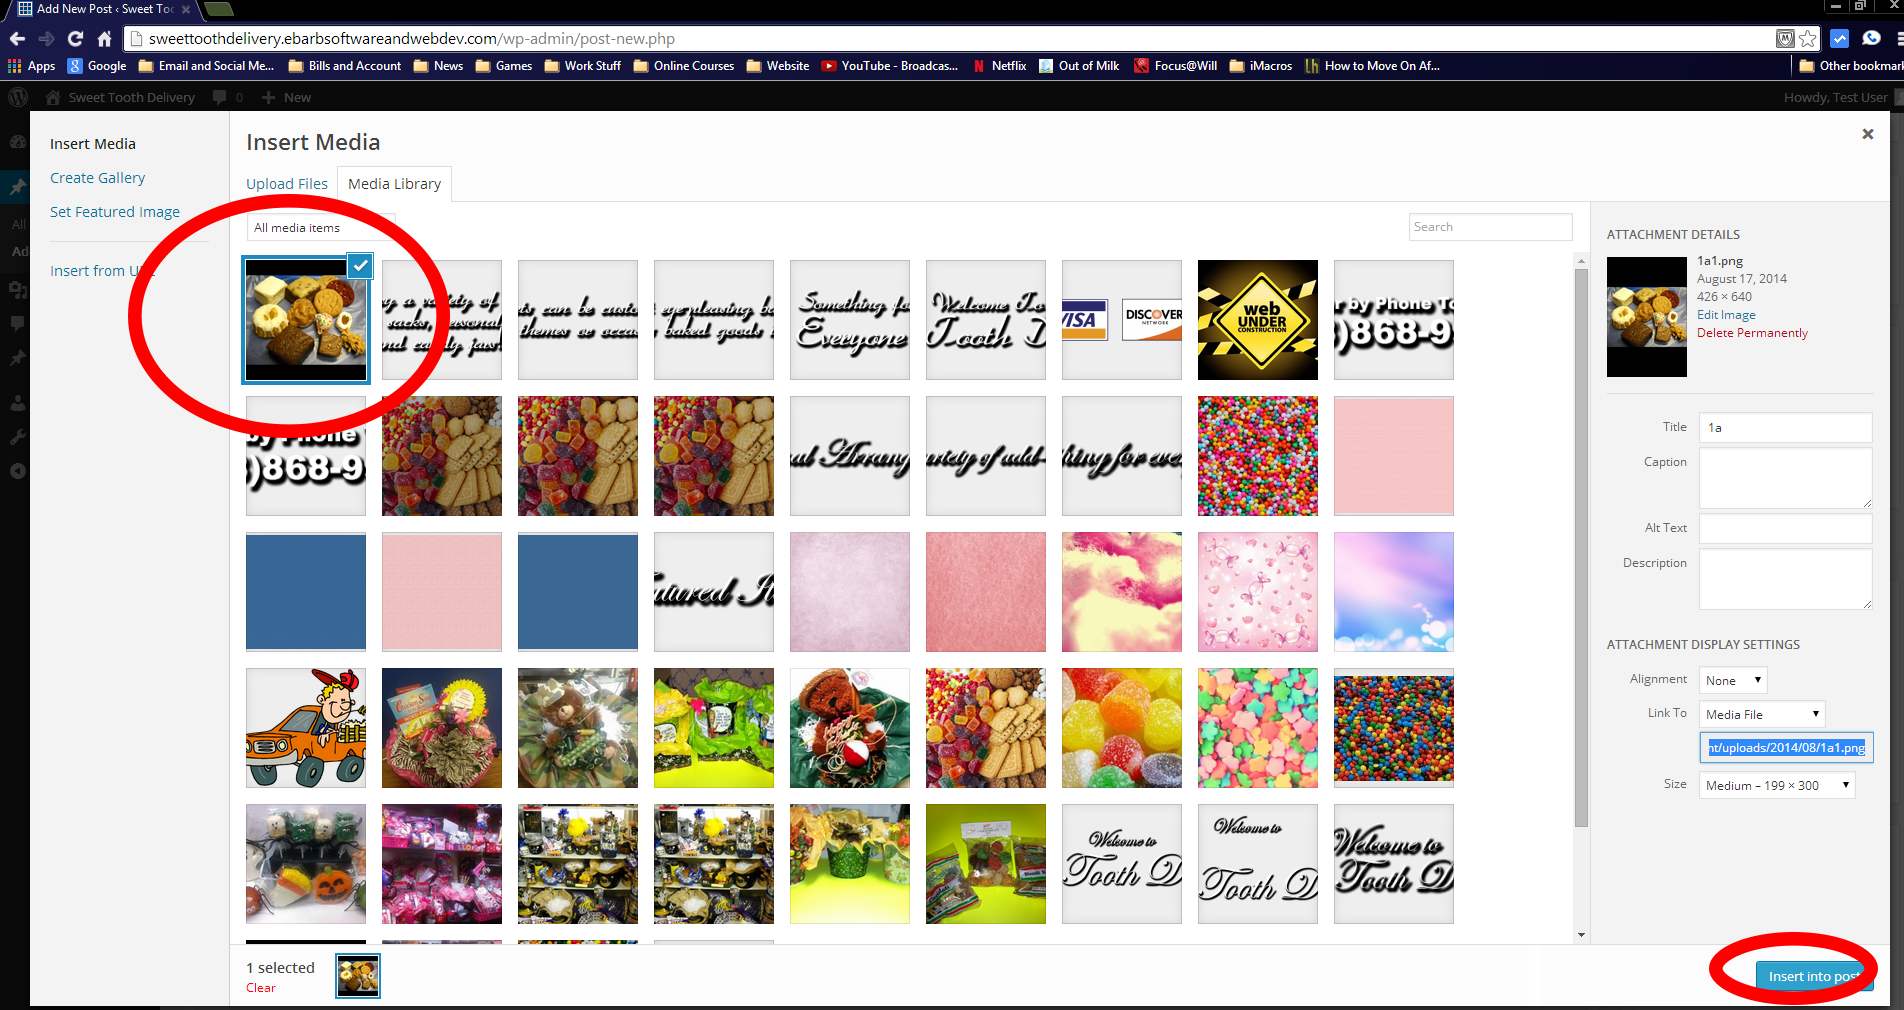
Inserting the Image
Once you’ve selected and uploaded a file, your window will change to a window of thumbnails. This is your media library. Again, not to worry, as you won’t be able to delete any images from this area that you haven’t uploaded yourself, so nothing can be broken on the main site. The image that you just uploaded should be the first one listed. The image that is to be inserted into the post will be highlighted and checked with a blue check mark. Once you’ve verified that’s the image you intended to upload, you can go ahead and click the “Insert” button.
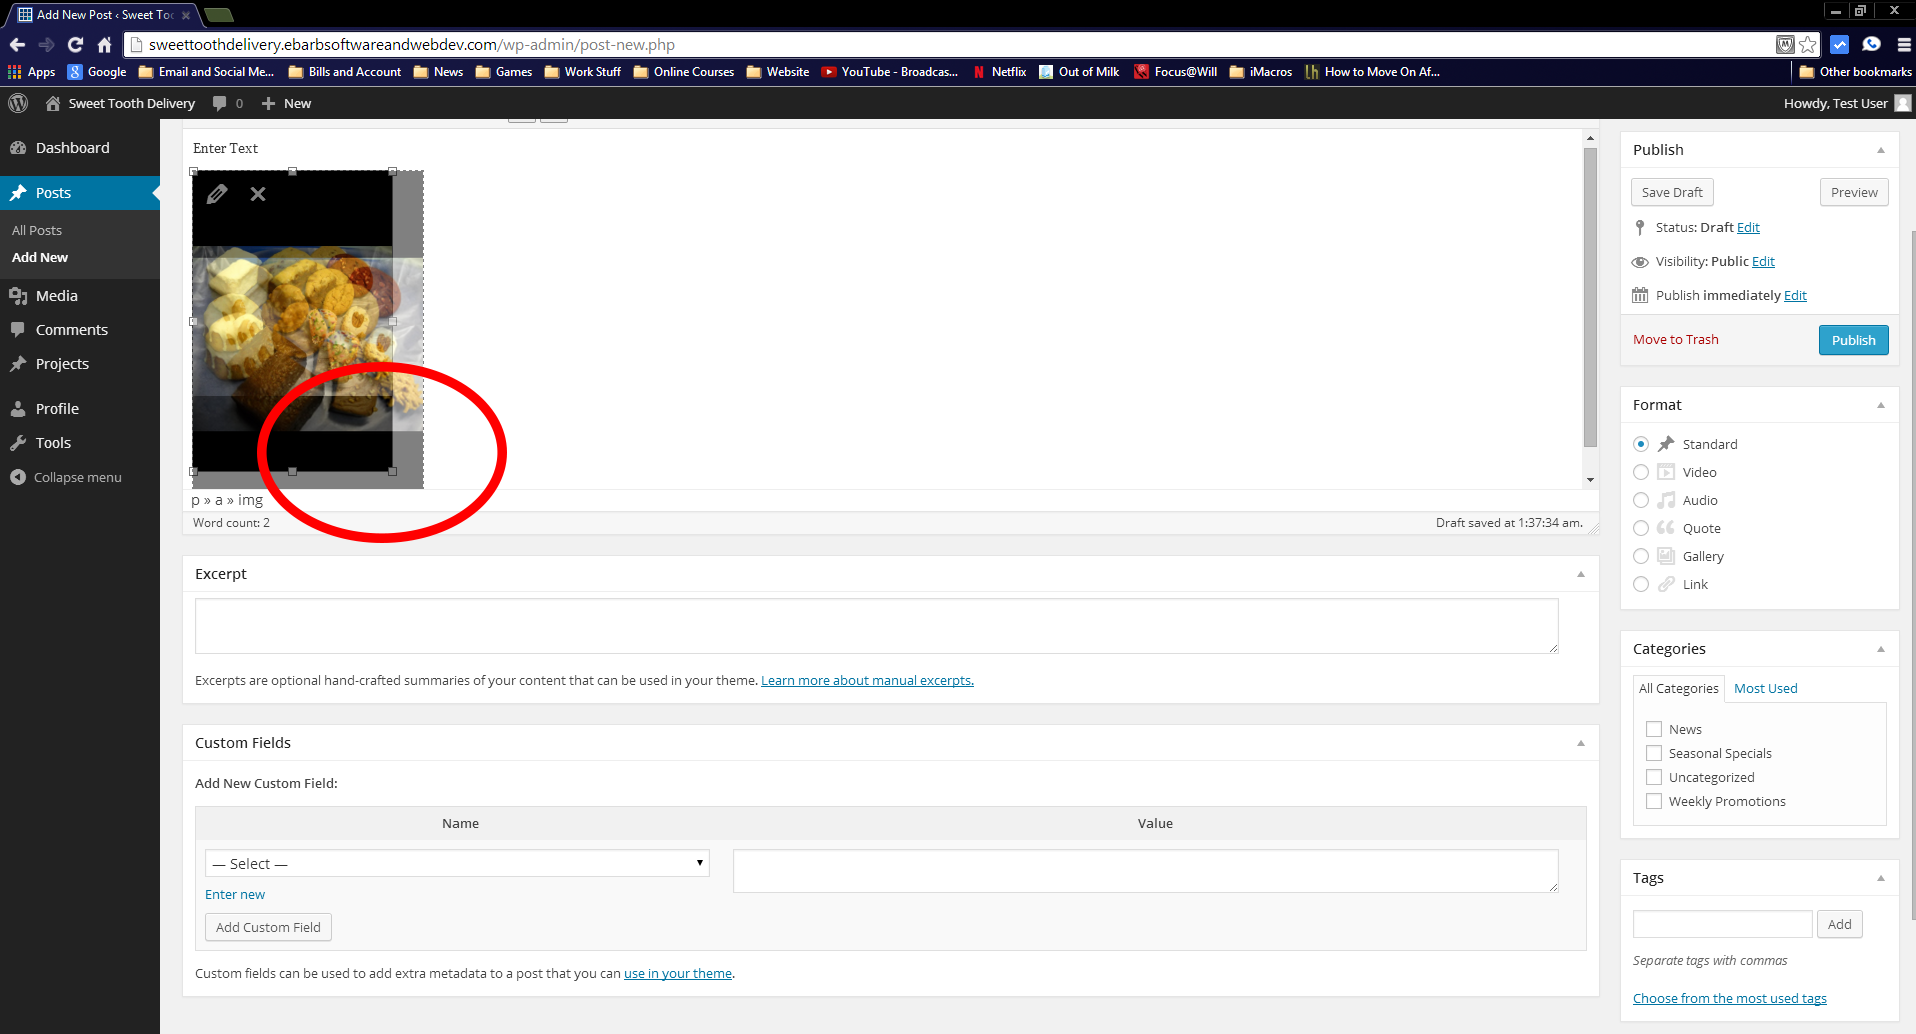
Changing the Image Size – Desktop
It is inevitable that you will insert an image that is naturally way larger than you want it to appear in your post. In order to fix this, you’ll have to re-size the image once you’ve inserted it into the post. Doing this on a desktop PC is a bit easier than on a mobile device, but both are possible. With Desktop it’s a familiar click the corner and drag situation, like you’re probably used to seeing in most windows applications. Simply click the image to make it highlight. Then click one of the little boxes on the sides or corners and drag it. In the picture I’ve shown, I dragged the bottom right corner. You’ll see an outline of how the image will look when you let go of the mouse button.
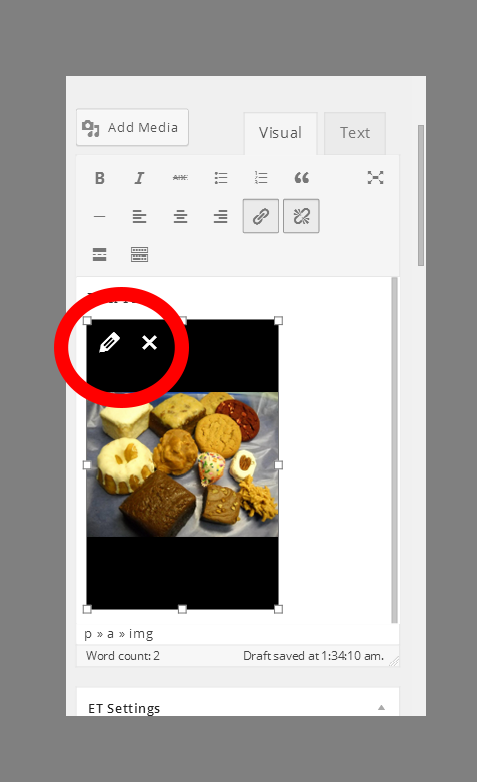
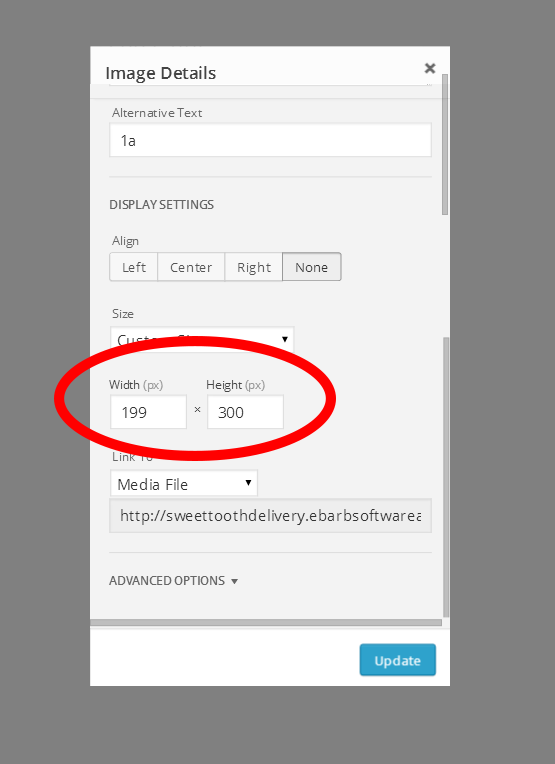
Changing the Image Size – Mobile
On mobile it’s slightly more complicated to change the image size, but not a ton. First you’ll have to start by clicking or touching the image itself to get it highlighted. Once highlighted you’ll see a pencil and an X icon in the upper left hand side of the image. First, we’ll click the pencil icon (first image). This will take us to a new screen that shows us a bunch of details about the image itself. We need to scroll down on this screen until we see a section that says “Size.” In this section, you’ll see 2 boxes that list numbers representing the images width and height in screen pixels (second image). The current size is shown, so adjust the image how you think it should look numerically, then click update, and look again and see. It may take a few tries of tinkering with those numbers to make it the size you’re wanting it to be. Regardless, changing the size of an image is possible both on desktop and on mobile devices.
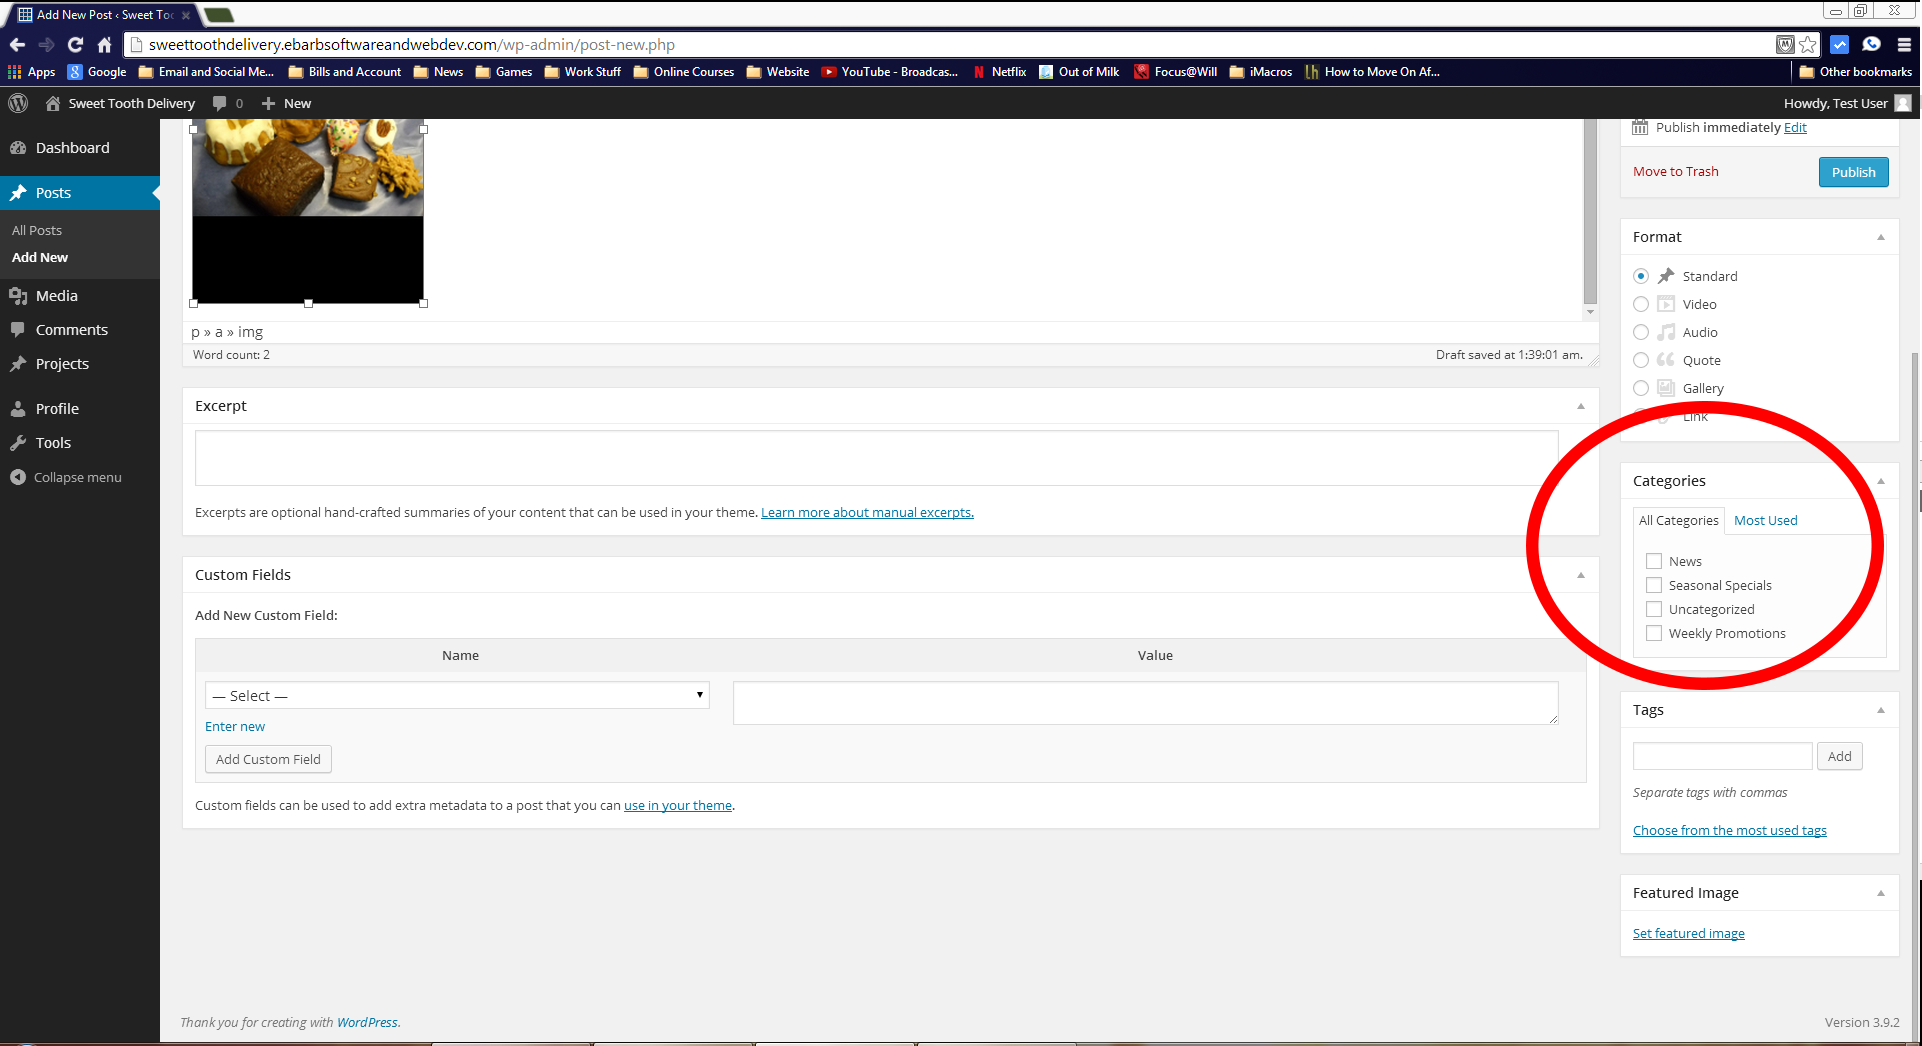
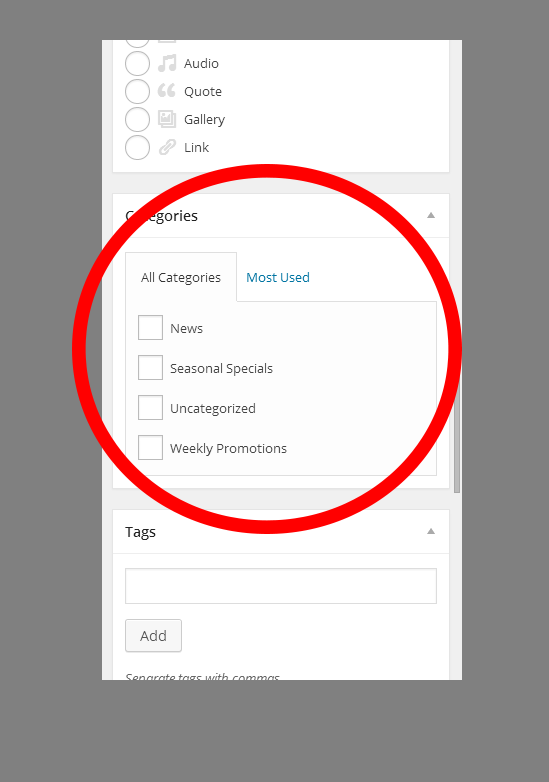
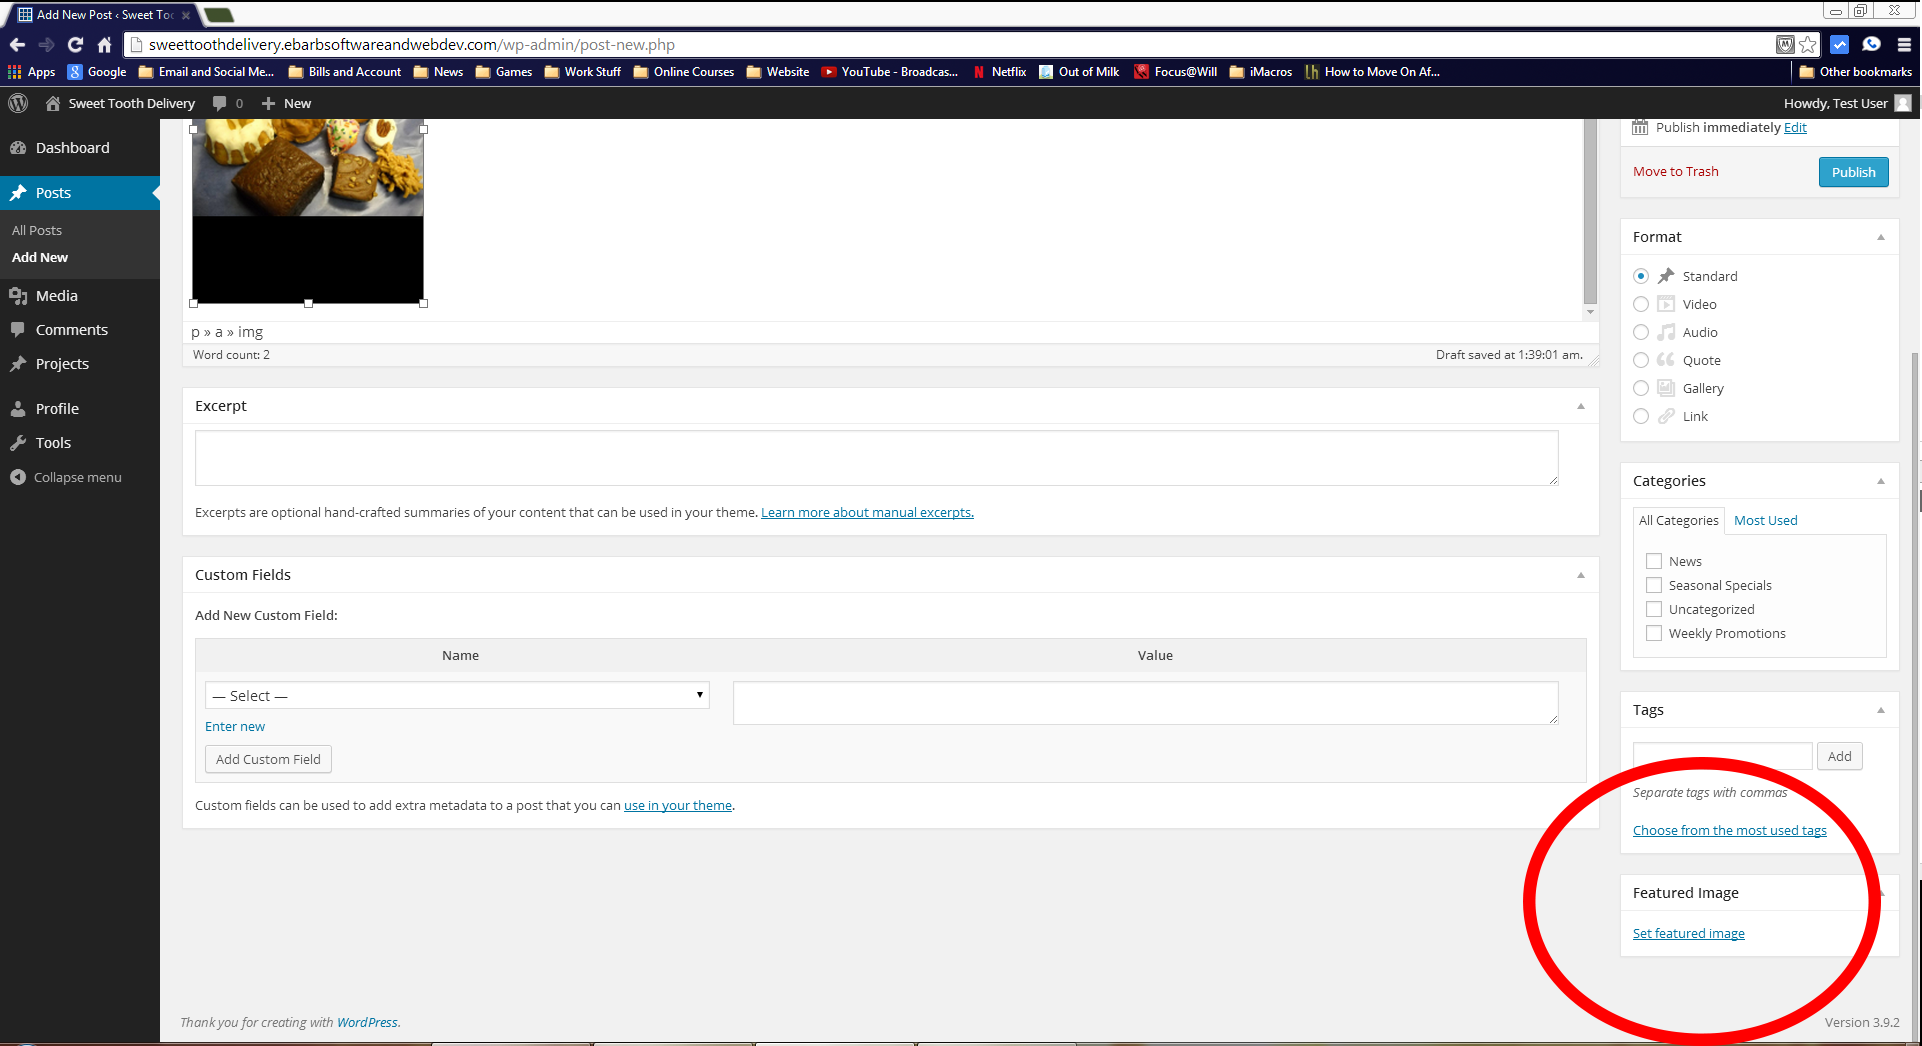
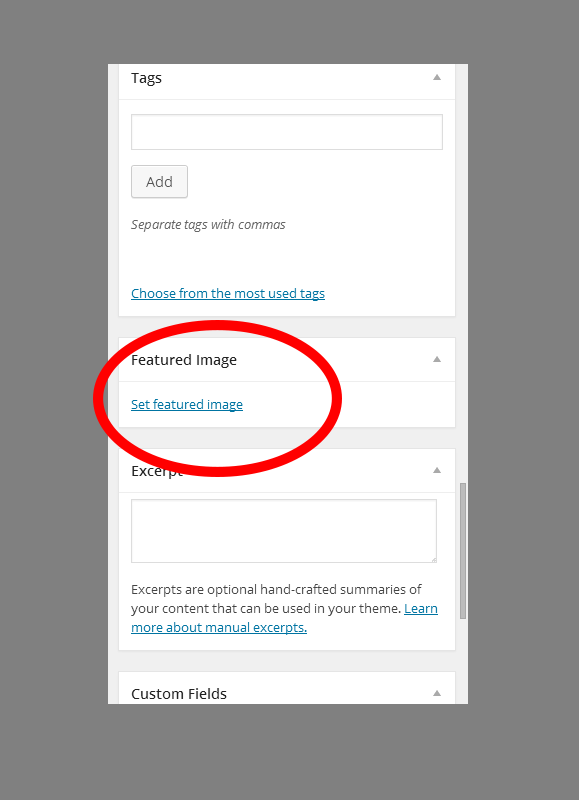
Before You Publish – Set a Category!
A good rule of thumb before you click the “Publish” button on any post, is to make sure you have both a category and a Featured image selected. Categories provide a good way of organizing posts, and also allow customers to search your past posts easily based upon those categories. To select a category is essentially the same on a PC and a mobile device. On Desktop, the categories field is on the right hand side of the screen. On the mobile device you’ll have to scroll down, but it’s there. Simply select one or more categories and then scroll down a little further to find the “Featured Image” section.
Setting a Featured Image
The Featured image is the image that is displayed in your news Section as part of the excerpt of the post. You want to use the highest resolution images possible for Featured images, so they look great when you post them. Adding a Featured image is the exact same process as adding a media file inside a post. The only difference here is that there’s a specific section of the entire post composition we need to use to set the image. Once you’ve chosen the image, that’s it, you’re done! If you’re satisfied with the post go ahead and hit the “Publish” button!